
GigSky’s eSIM plans are brilliant, beyond eSIMs they offer inflight and cruise ship data plans too. In this guide we’ll show you how to purchase and install a GigSky eSIM - from start to end. If you’ve installed an eSIM before this will be familiar. You don’t need to be tech savvy to install it. With that said, if you aren’t confident, someone else can install your eSIM before you leave. When you arrive, all you need to do is activate it with a couple of taps - scroll to the bottom to see how!
Before installing, have a look at all our partner plans to ensure you're choosing the best one for you – there are huge savings.
What’s great about GigSky is that you can install a free eSIM with up to 500MB of credit (in some countries), so you can try it before you purchase additional data. We did this on a recent trip to France and it worked great. We’ve also tried it in Indonesia, but we found the local networks GigSky uses weren't very good – your mileage may vary.
Before You Install
- Unlocked Device: Make sure your phone is not locked to a carrier. Sometimes your carrier will prevent you from using other SIMs with the device. If you're unsure, we suggest contacting your home carrier, where you bought the device.
- eSIM Compatibility: eSIMs are compatible with most modern mobile devices, take a look at our Compatibility Checker to confirm yours is supported. If you have a iPhone purchased in mainland China - it won't have an eSIM (with the exception of the iPhone Air).
- Internet Connection: To purchase and activate your eSIM, you’ll need to be connected to the internet. It's best to install the eSIM before you leave home and activate it when you land.
- iOS Version: You’ll need to have a recent version of iOS installed, at least iOS 12.01. But don't worry, you probably have this, to double check go to your device settings.
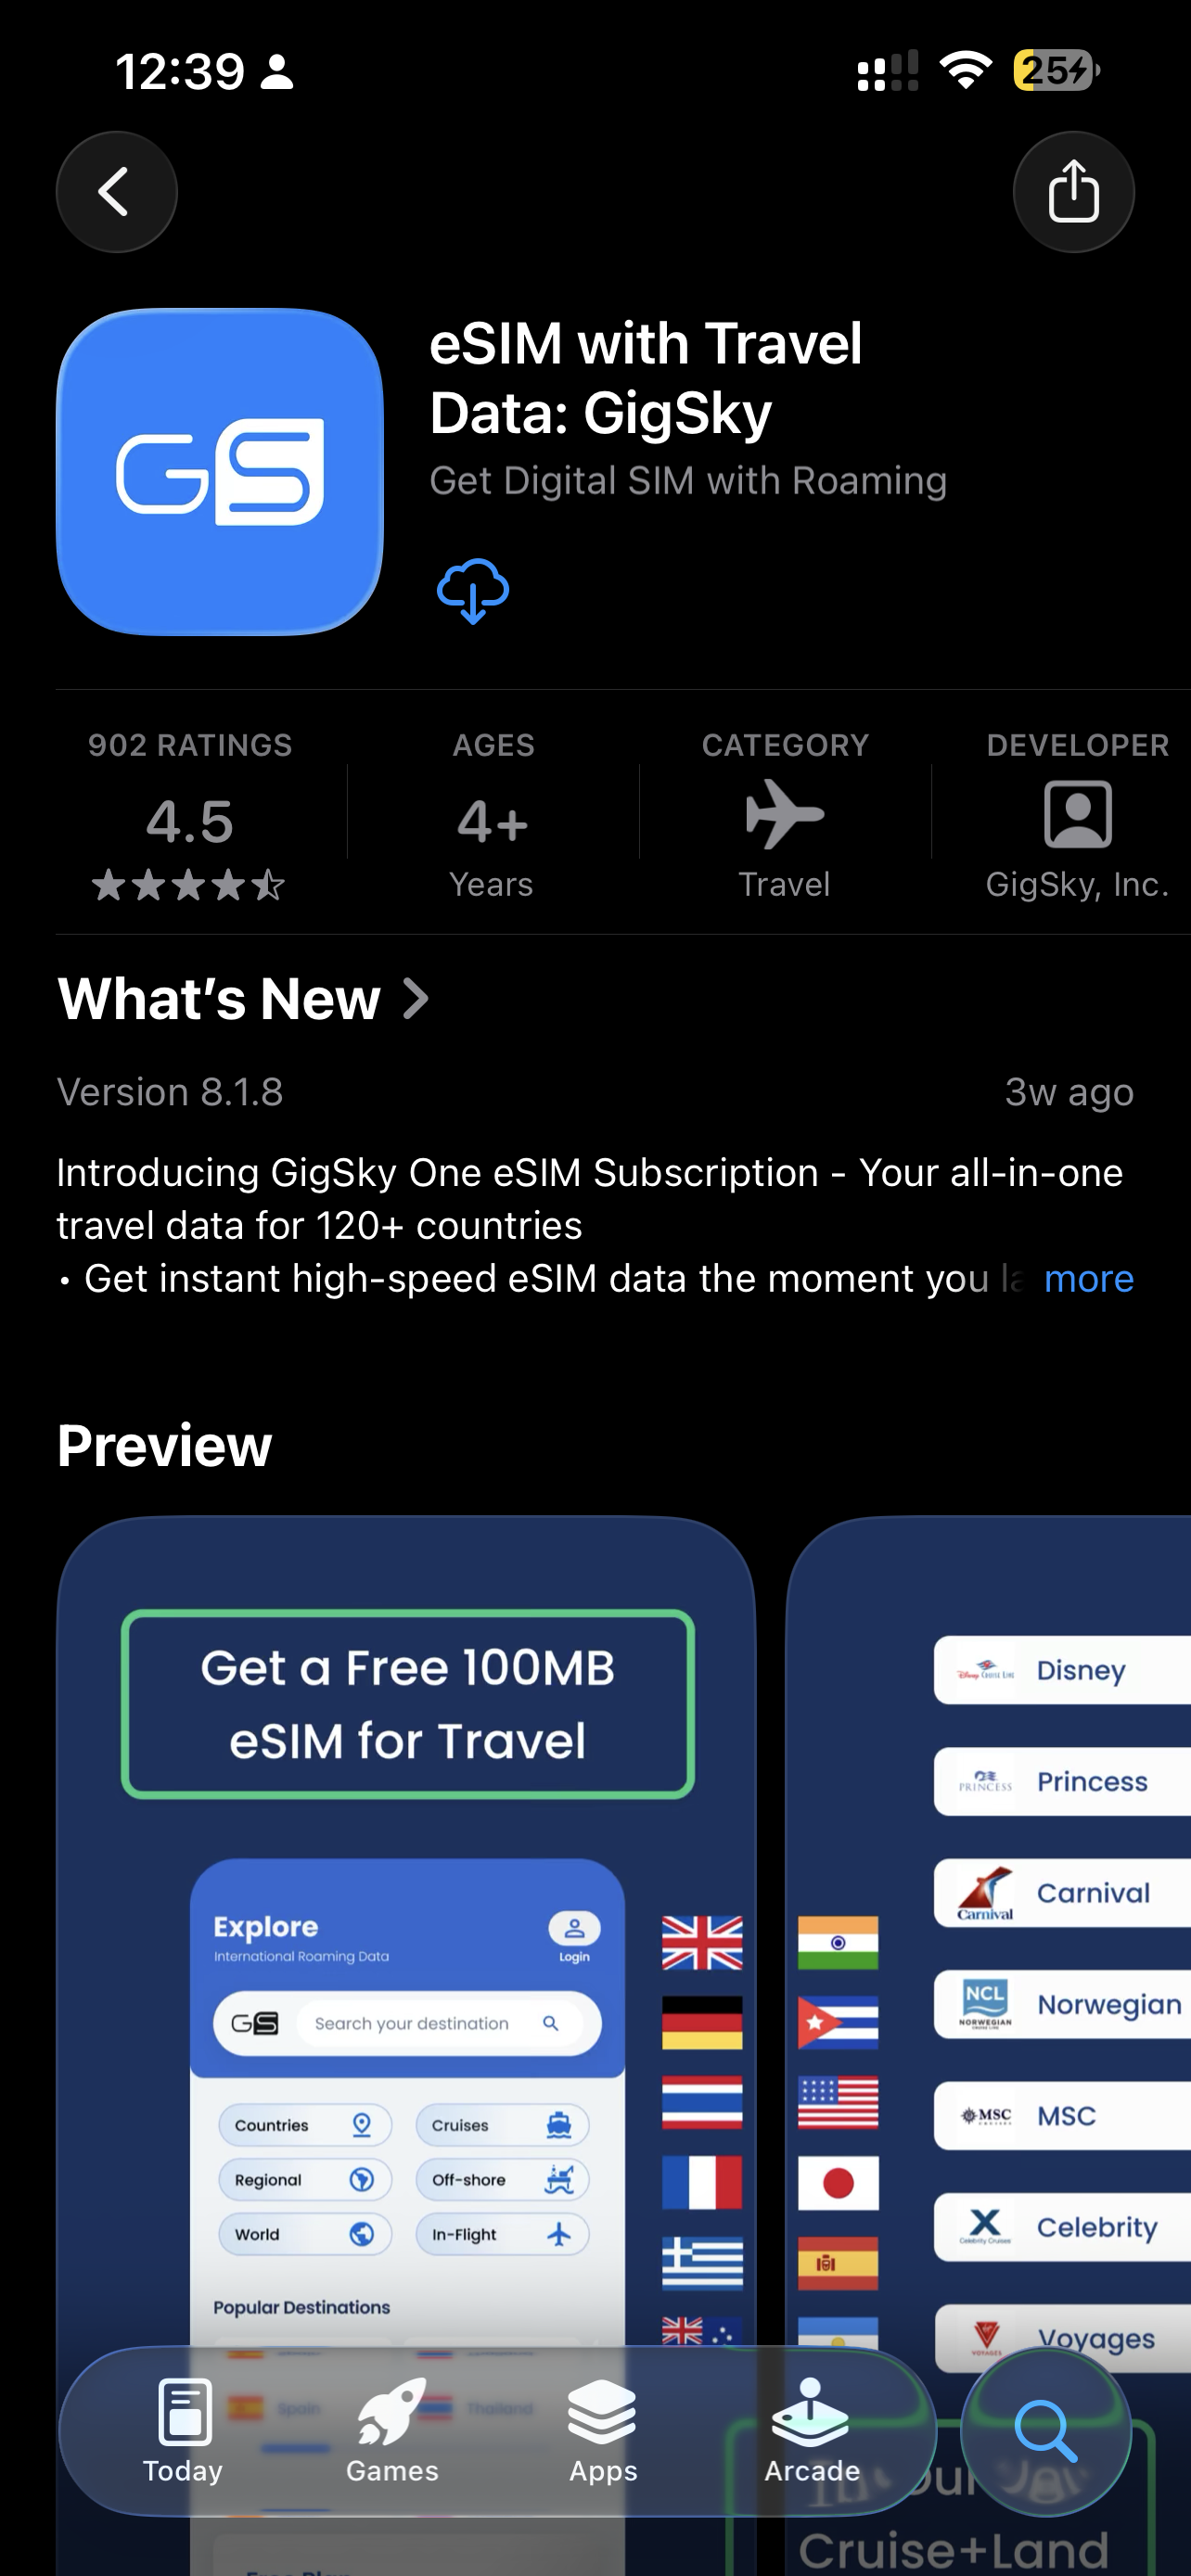
- GigSky App: Installing a GigSky eSim is easiest using their App. Visit the Apple App Store to find the GigSky App.
GigSky Installation Top Tips
- You'll see a few pop-ups asking for your permission to share your location or activate notifications, you don't need to allow these if you don't want to.
- When signing up with Google or Apple, the registration is quicker!
- If you get stuck, have a look at GigSky's own installation guide.
- If you need any help the GigSky team are ready to assist, contact them.
GigSky Installation Guide - Updated 2026
1) Search & Compare GigSky Plans on RoamCompare
Have a look through the GigSky plans on RoamCompare, if you're unsure how much data you need - use our data estimation tool.
2) Install the GigSky App
To get started, install the GigSky App from the Apple App Store.
You might be prompted to enable notifications or allow tracking - you can reject these if you like.
3) Create a GigSky Account
Once the App is installed, click the Profile (Log In) icon in the top right.
Then choose the login method. It's quicker to sign in using Apple or Google, but you can use your email if you prefer.
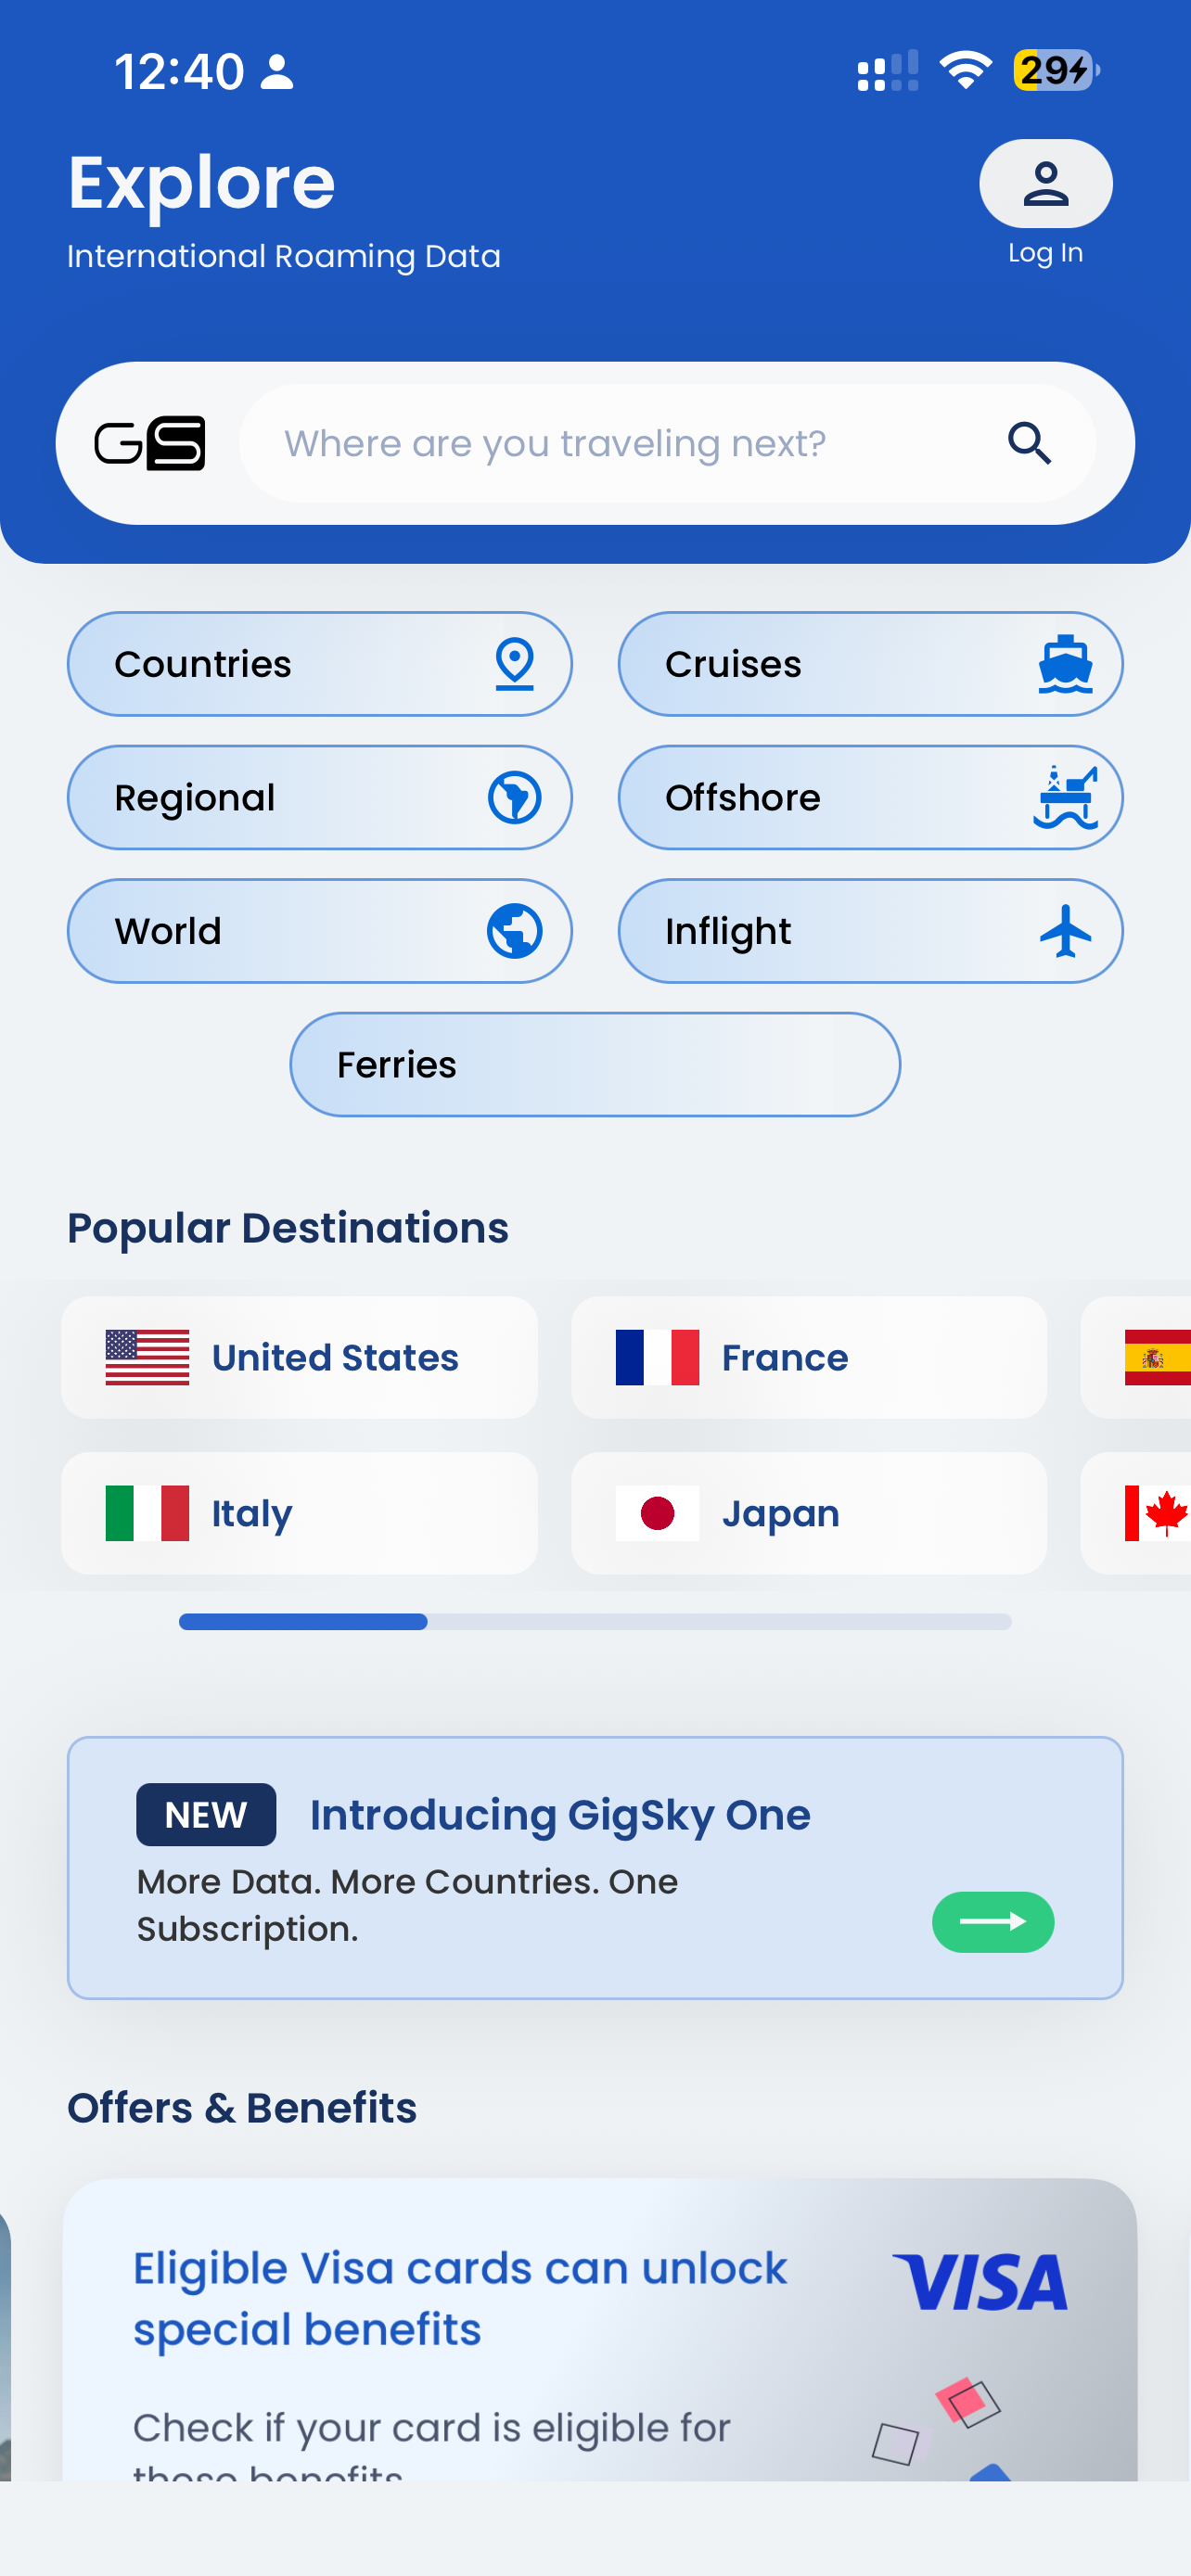


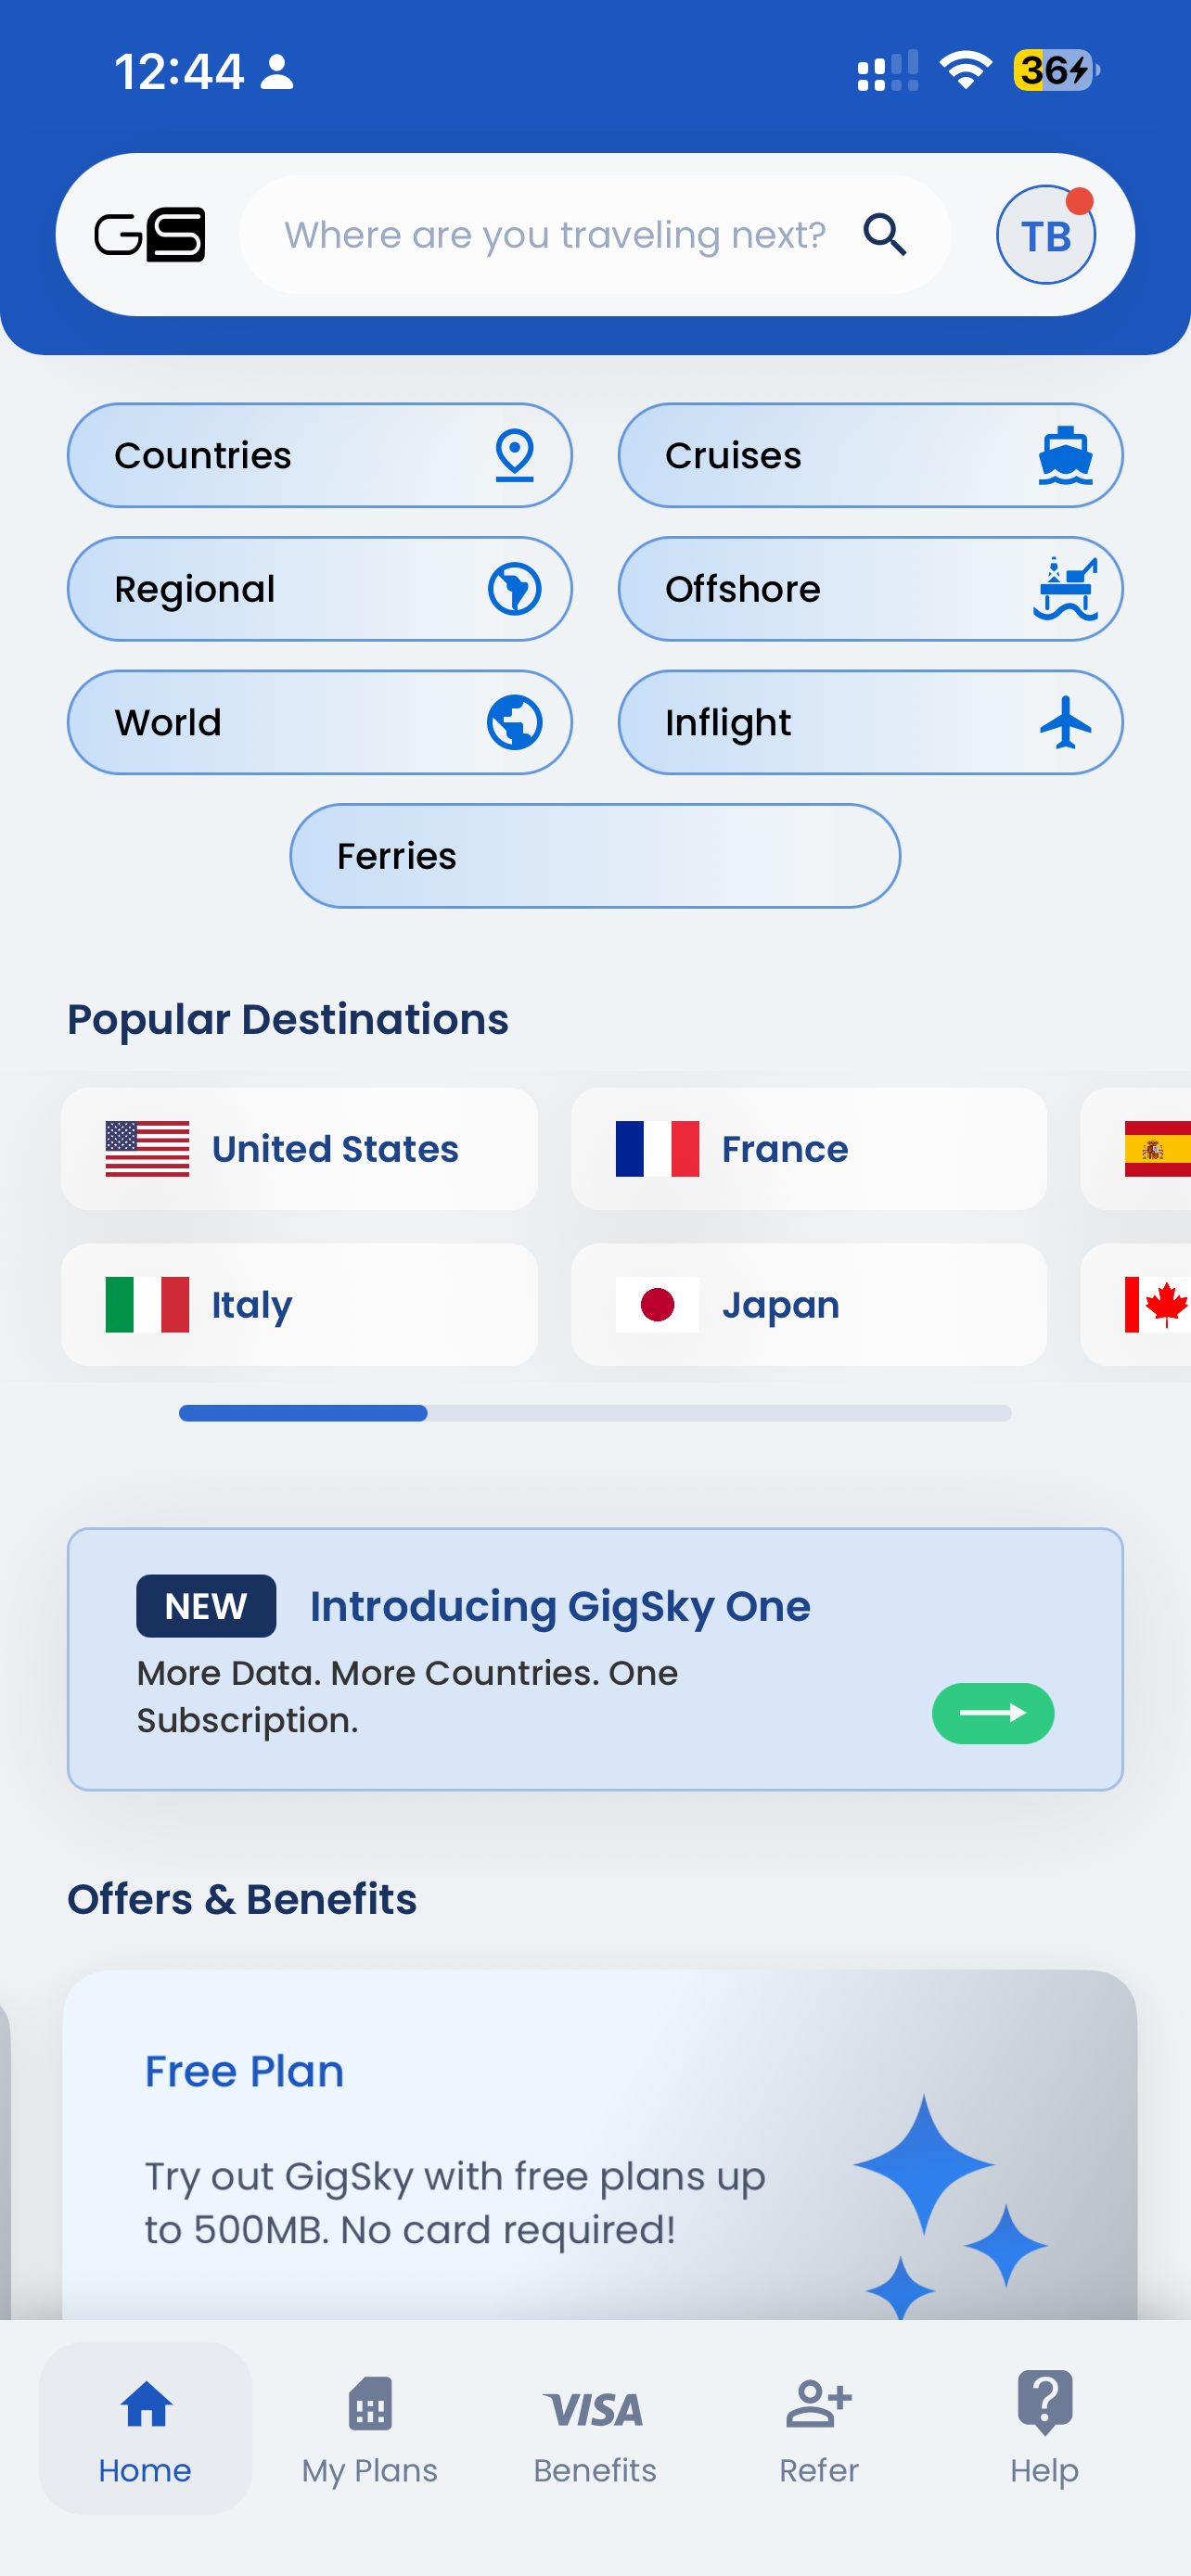
4) Find a GigSky Plan
Search for a plan, you can choose from single country plans, or for multi-destination trips choose a global or regional plan.
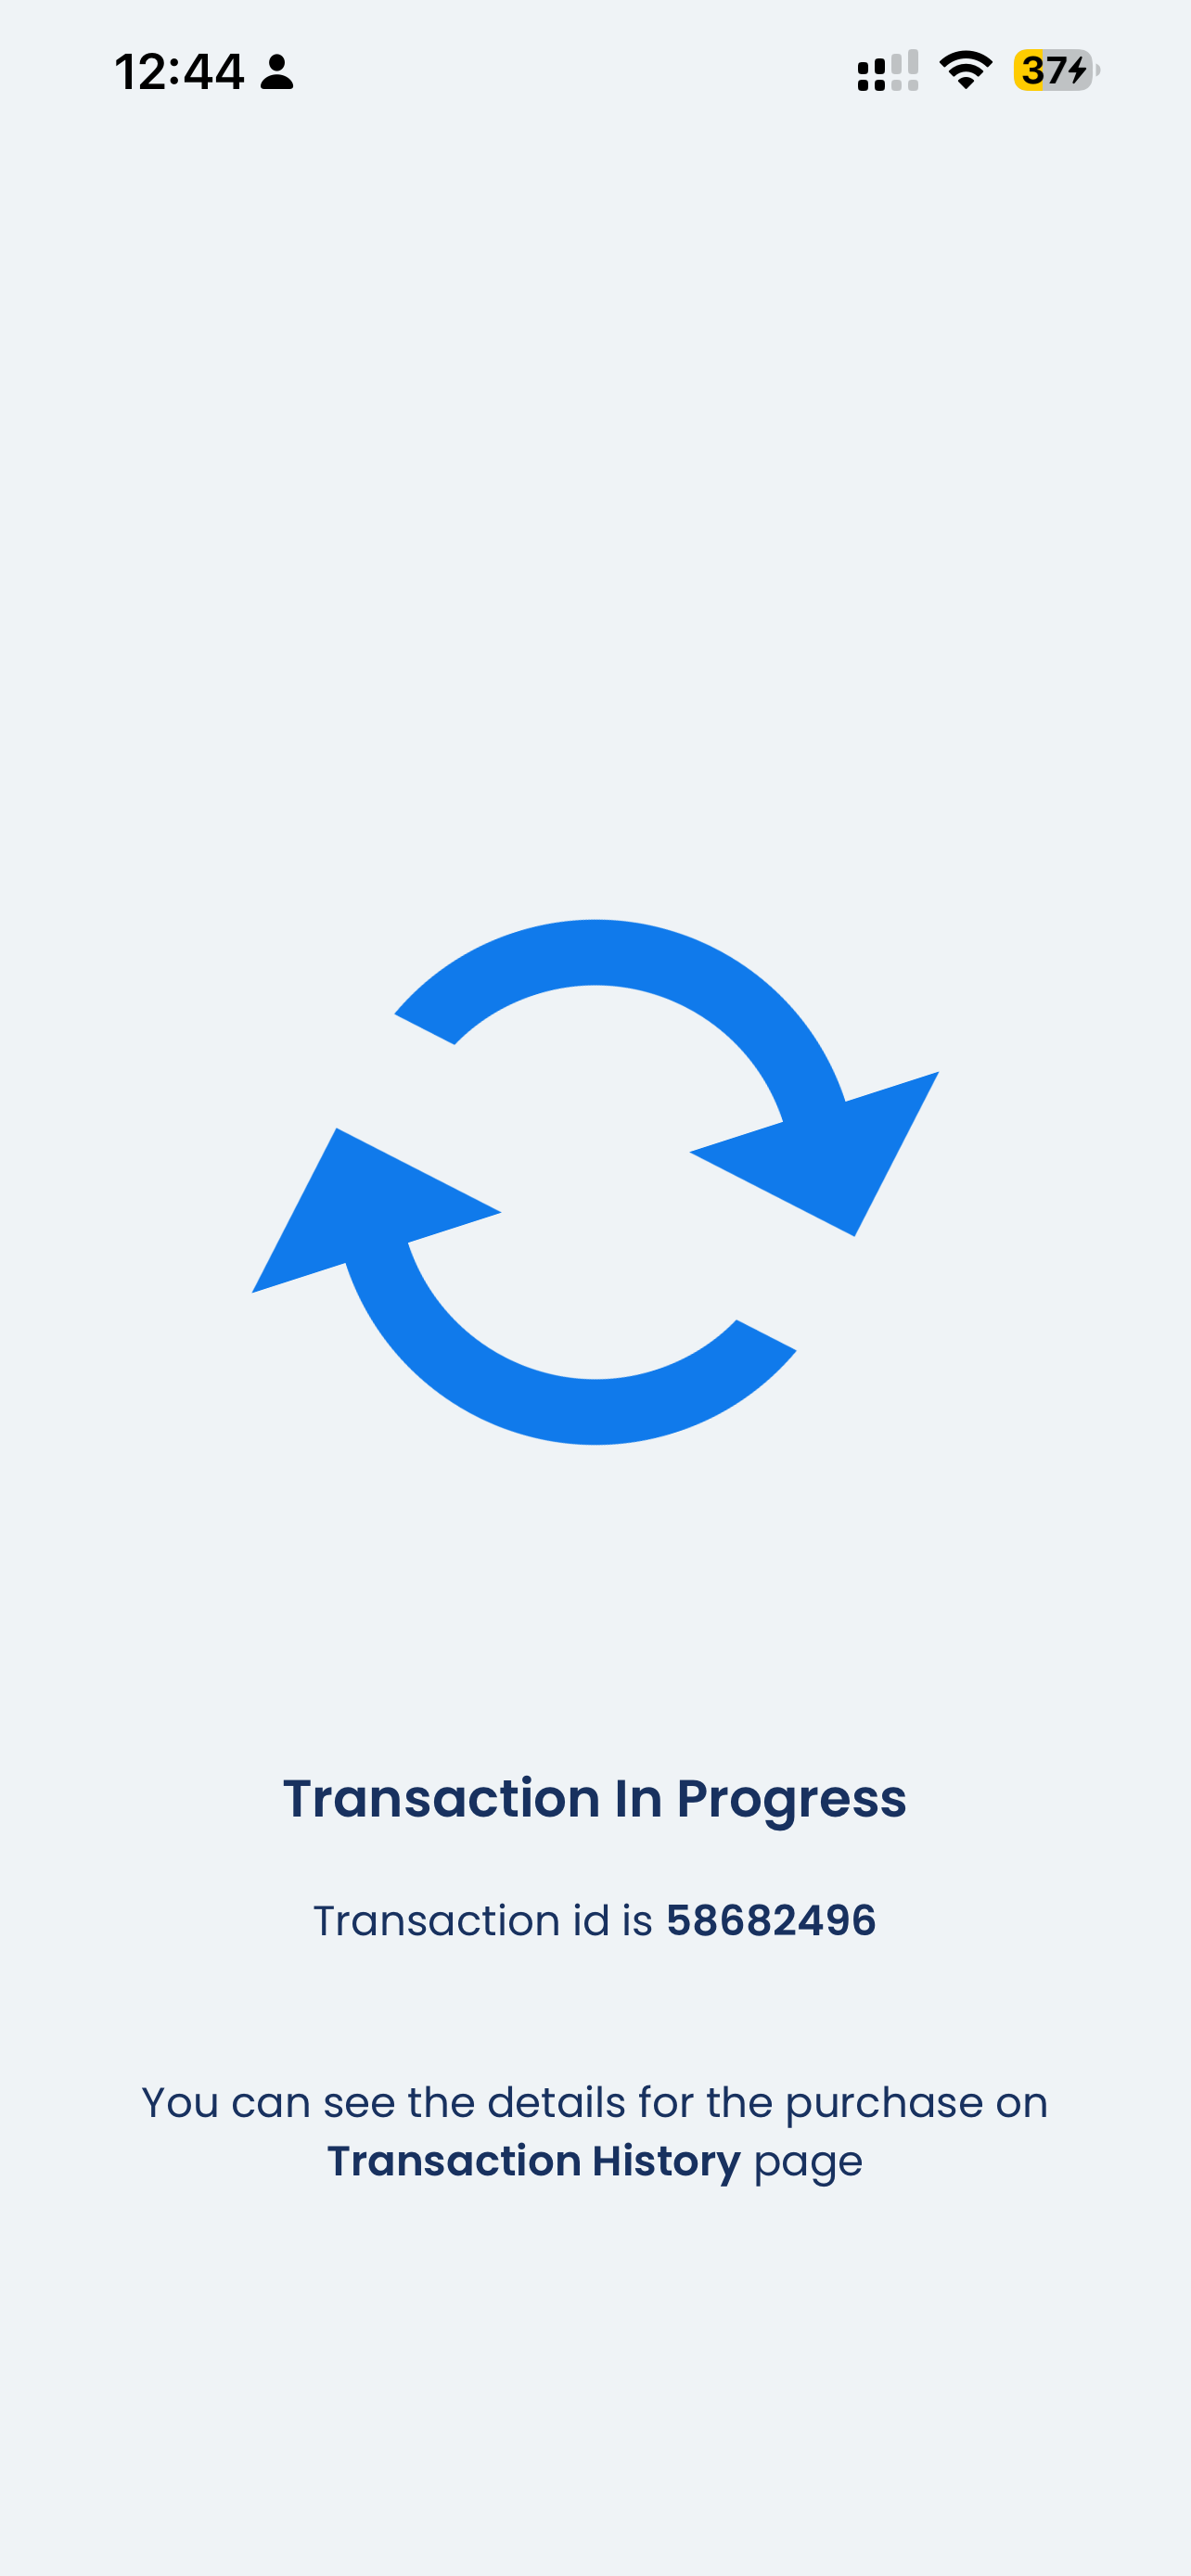
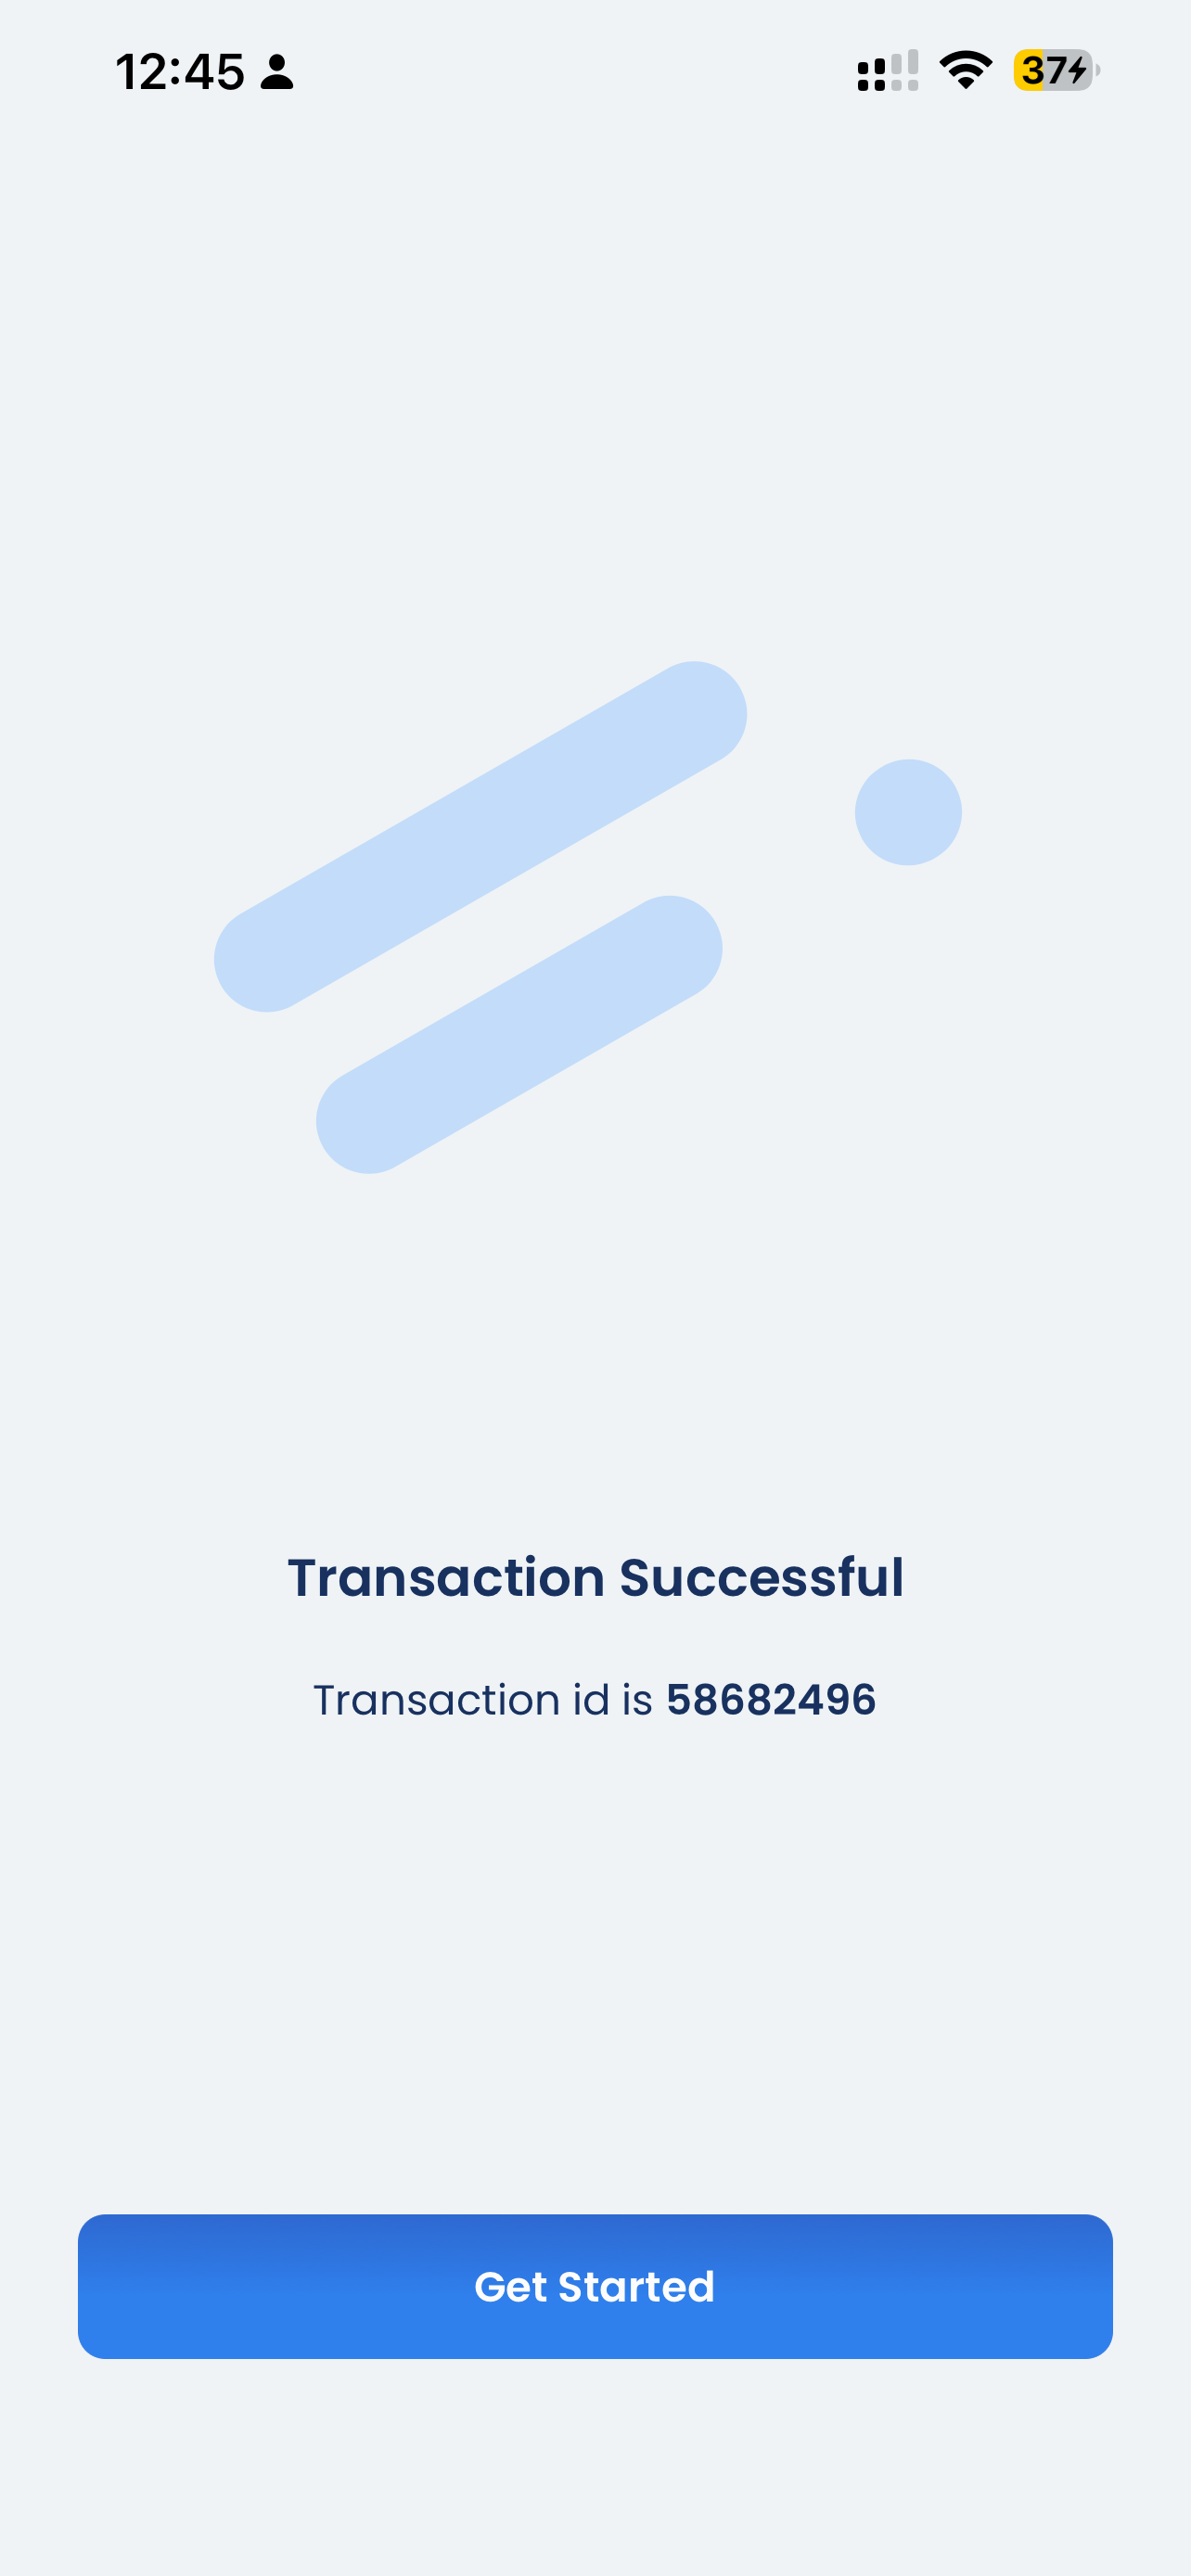
5) Purchase a GigSky eSIM
You're now ready to buy your eSIM.
In this guide, we'll be installing a free trial eSIM offered by GigSky. The process is broadly the same for chargeable eSIMs, you'll just need to select a payment method.
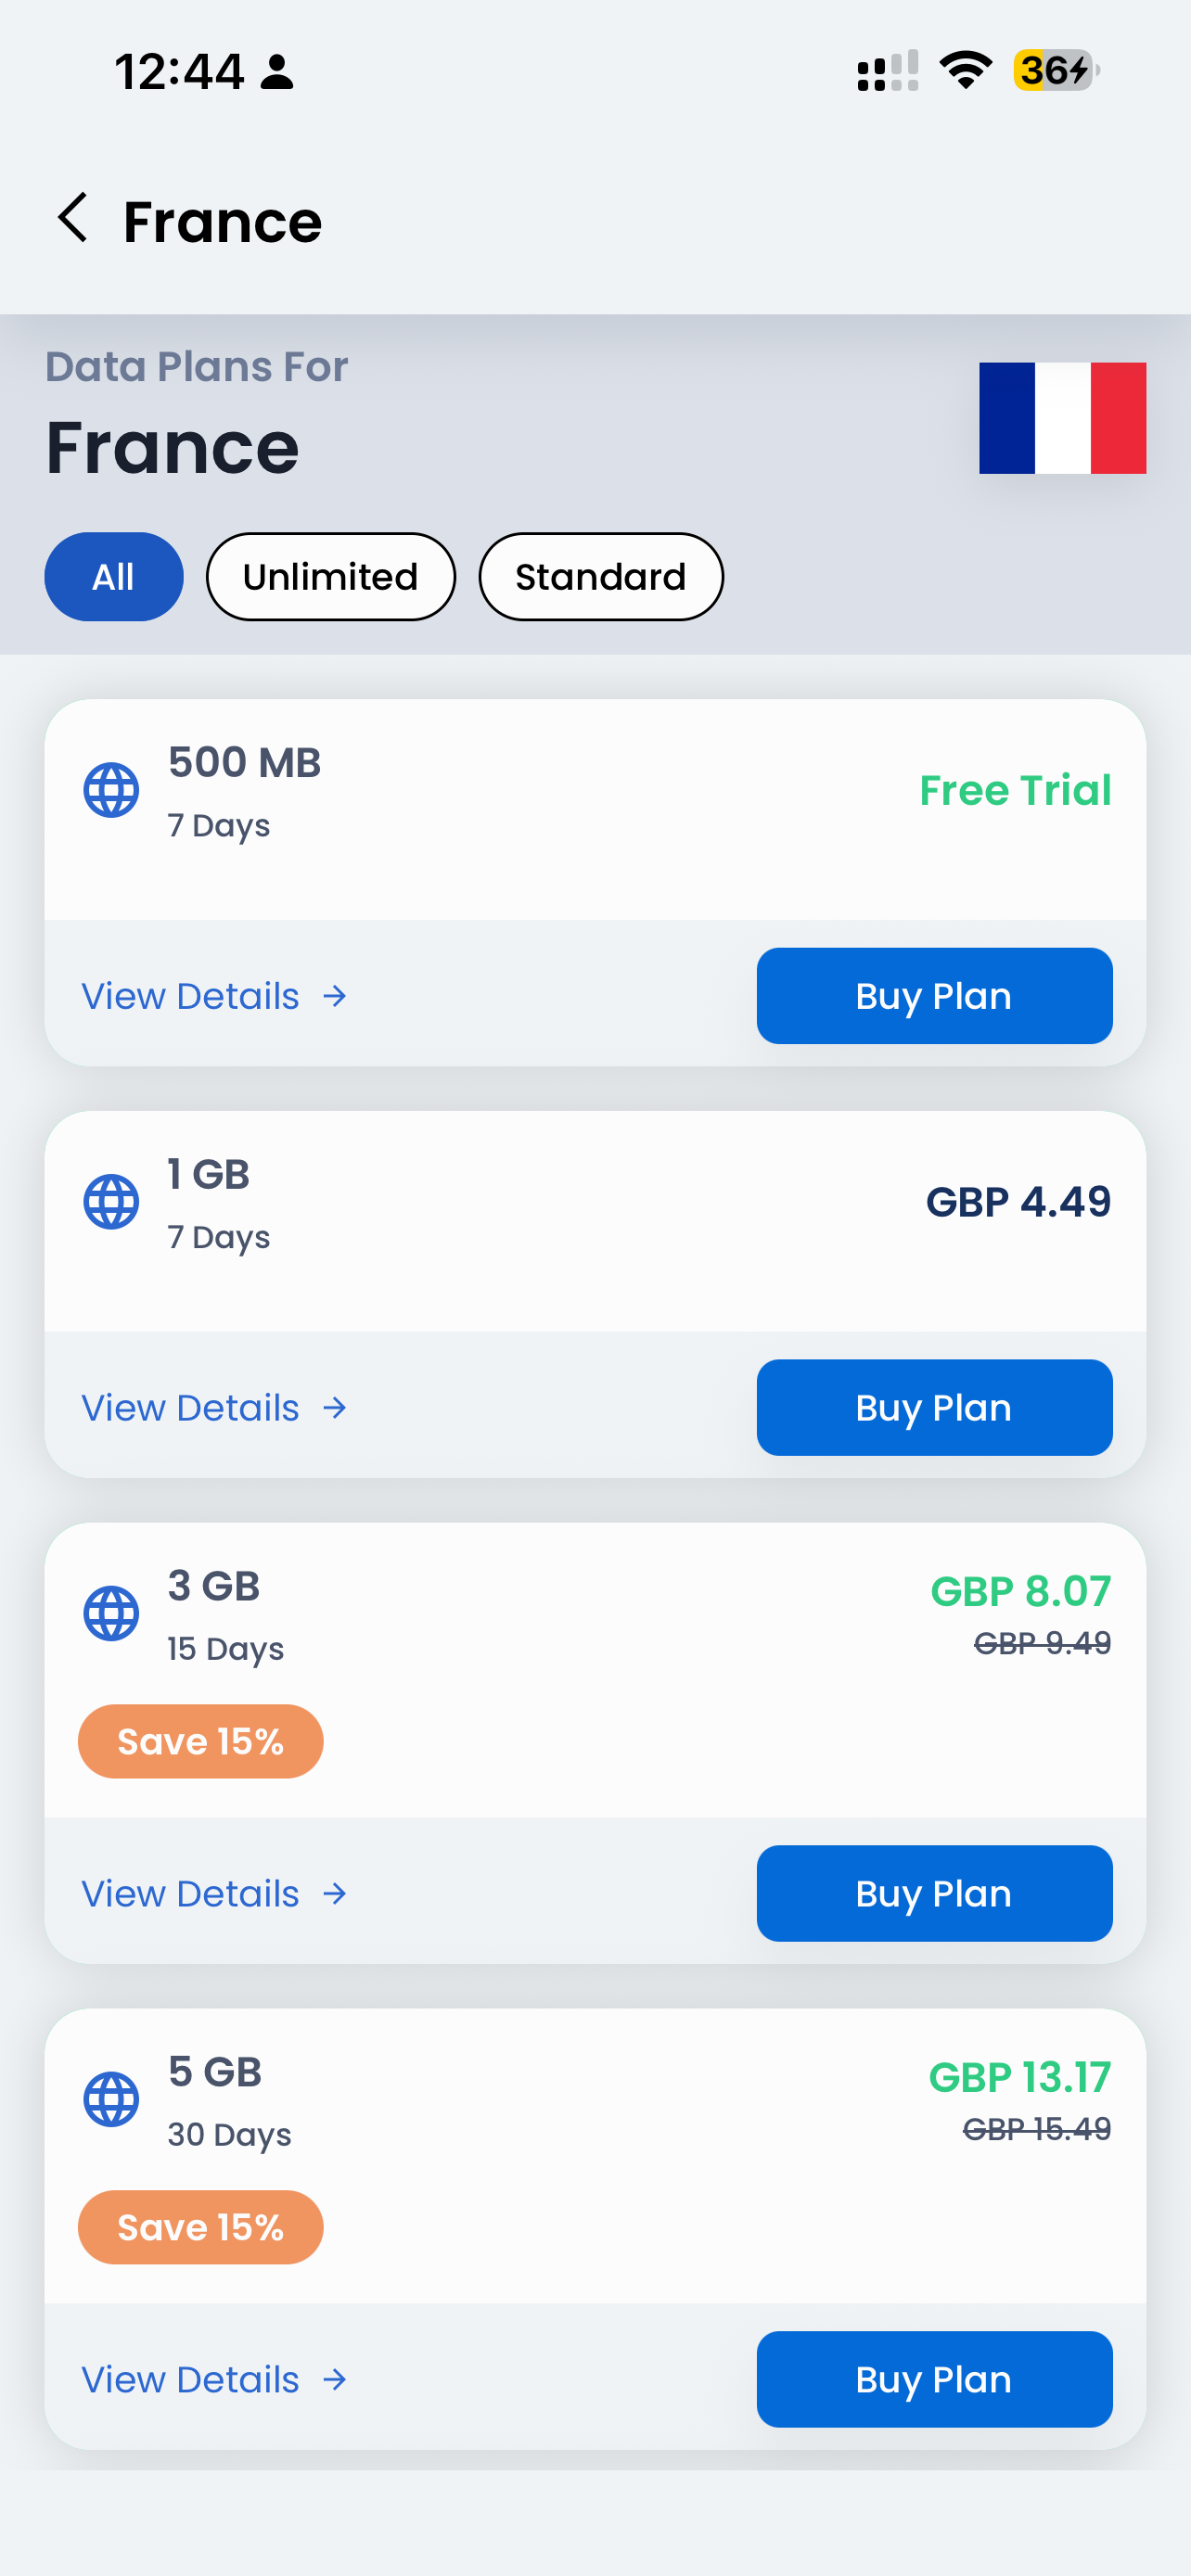

If you're purchasing a chargeable eSIM it might look slightly different, and you will need to provide a payment method.
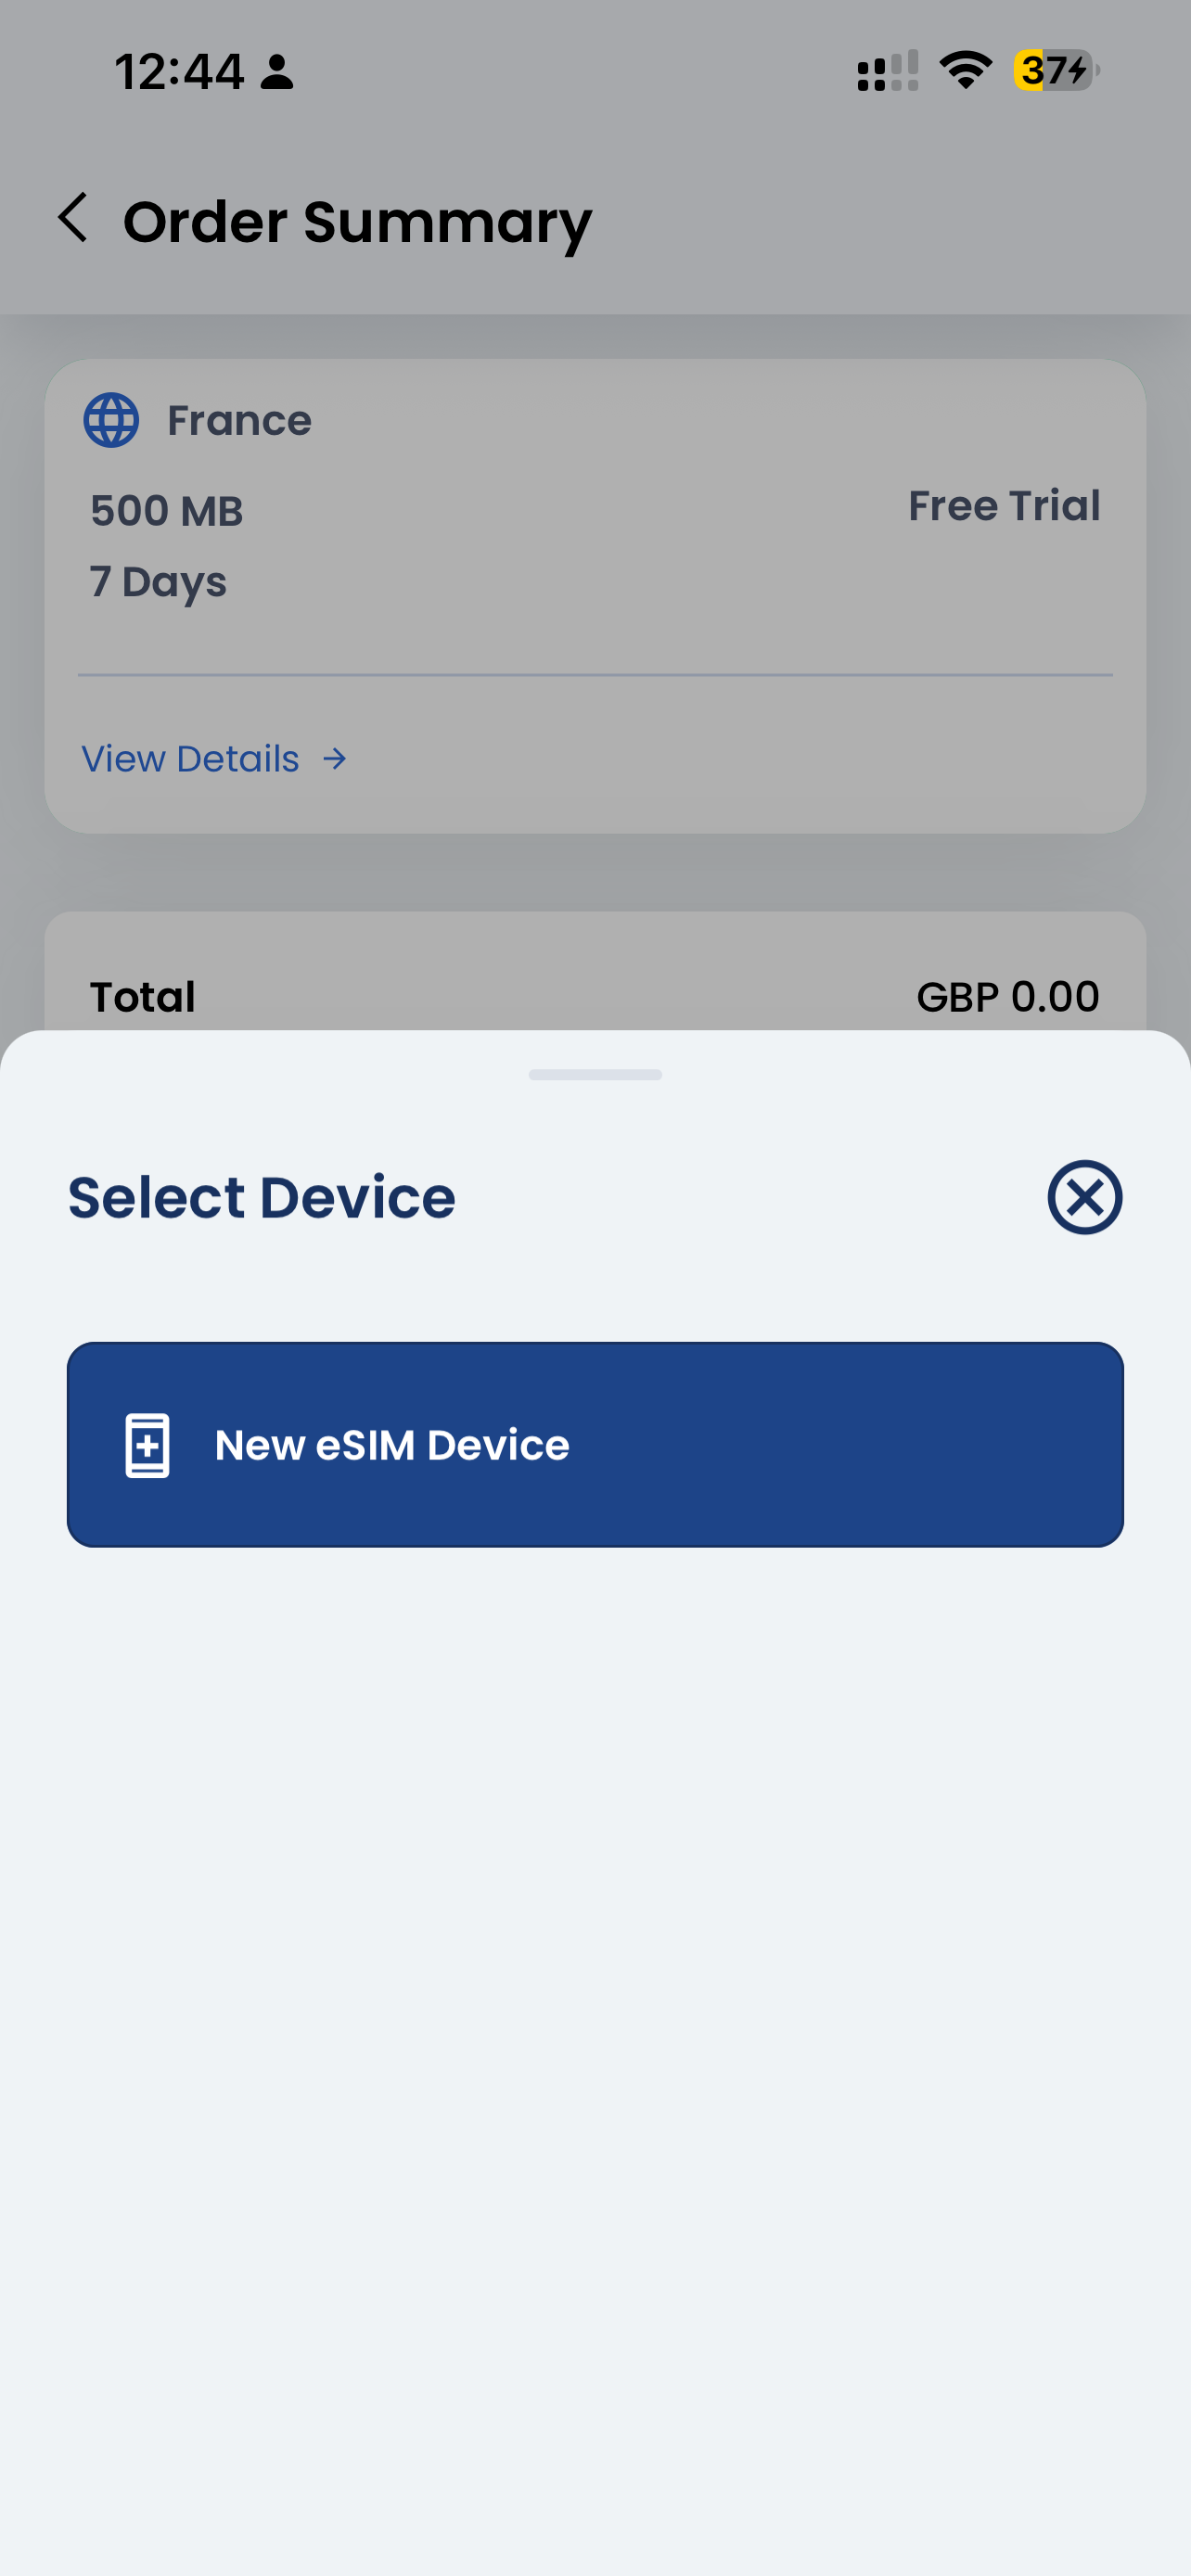
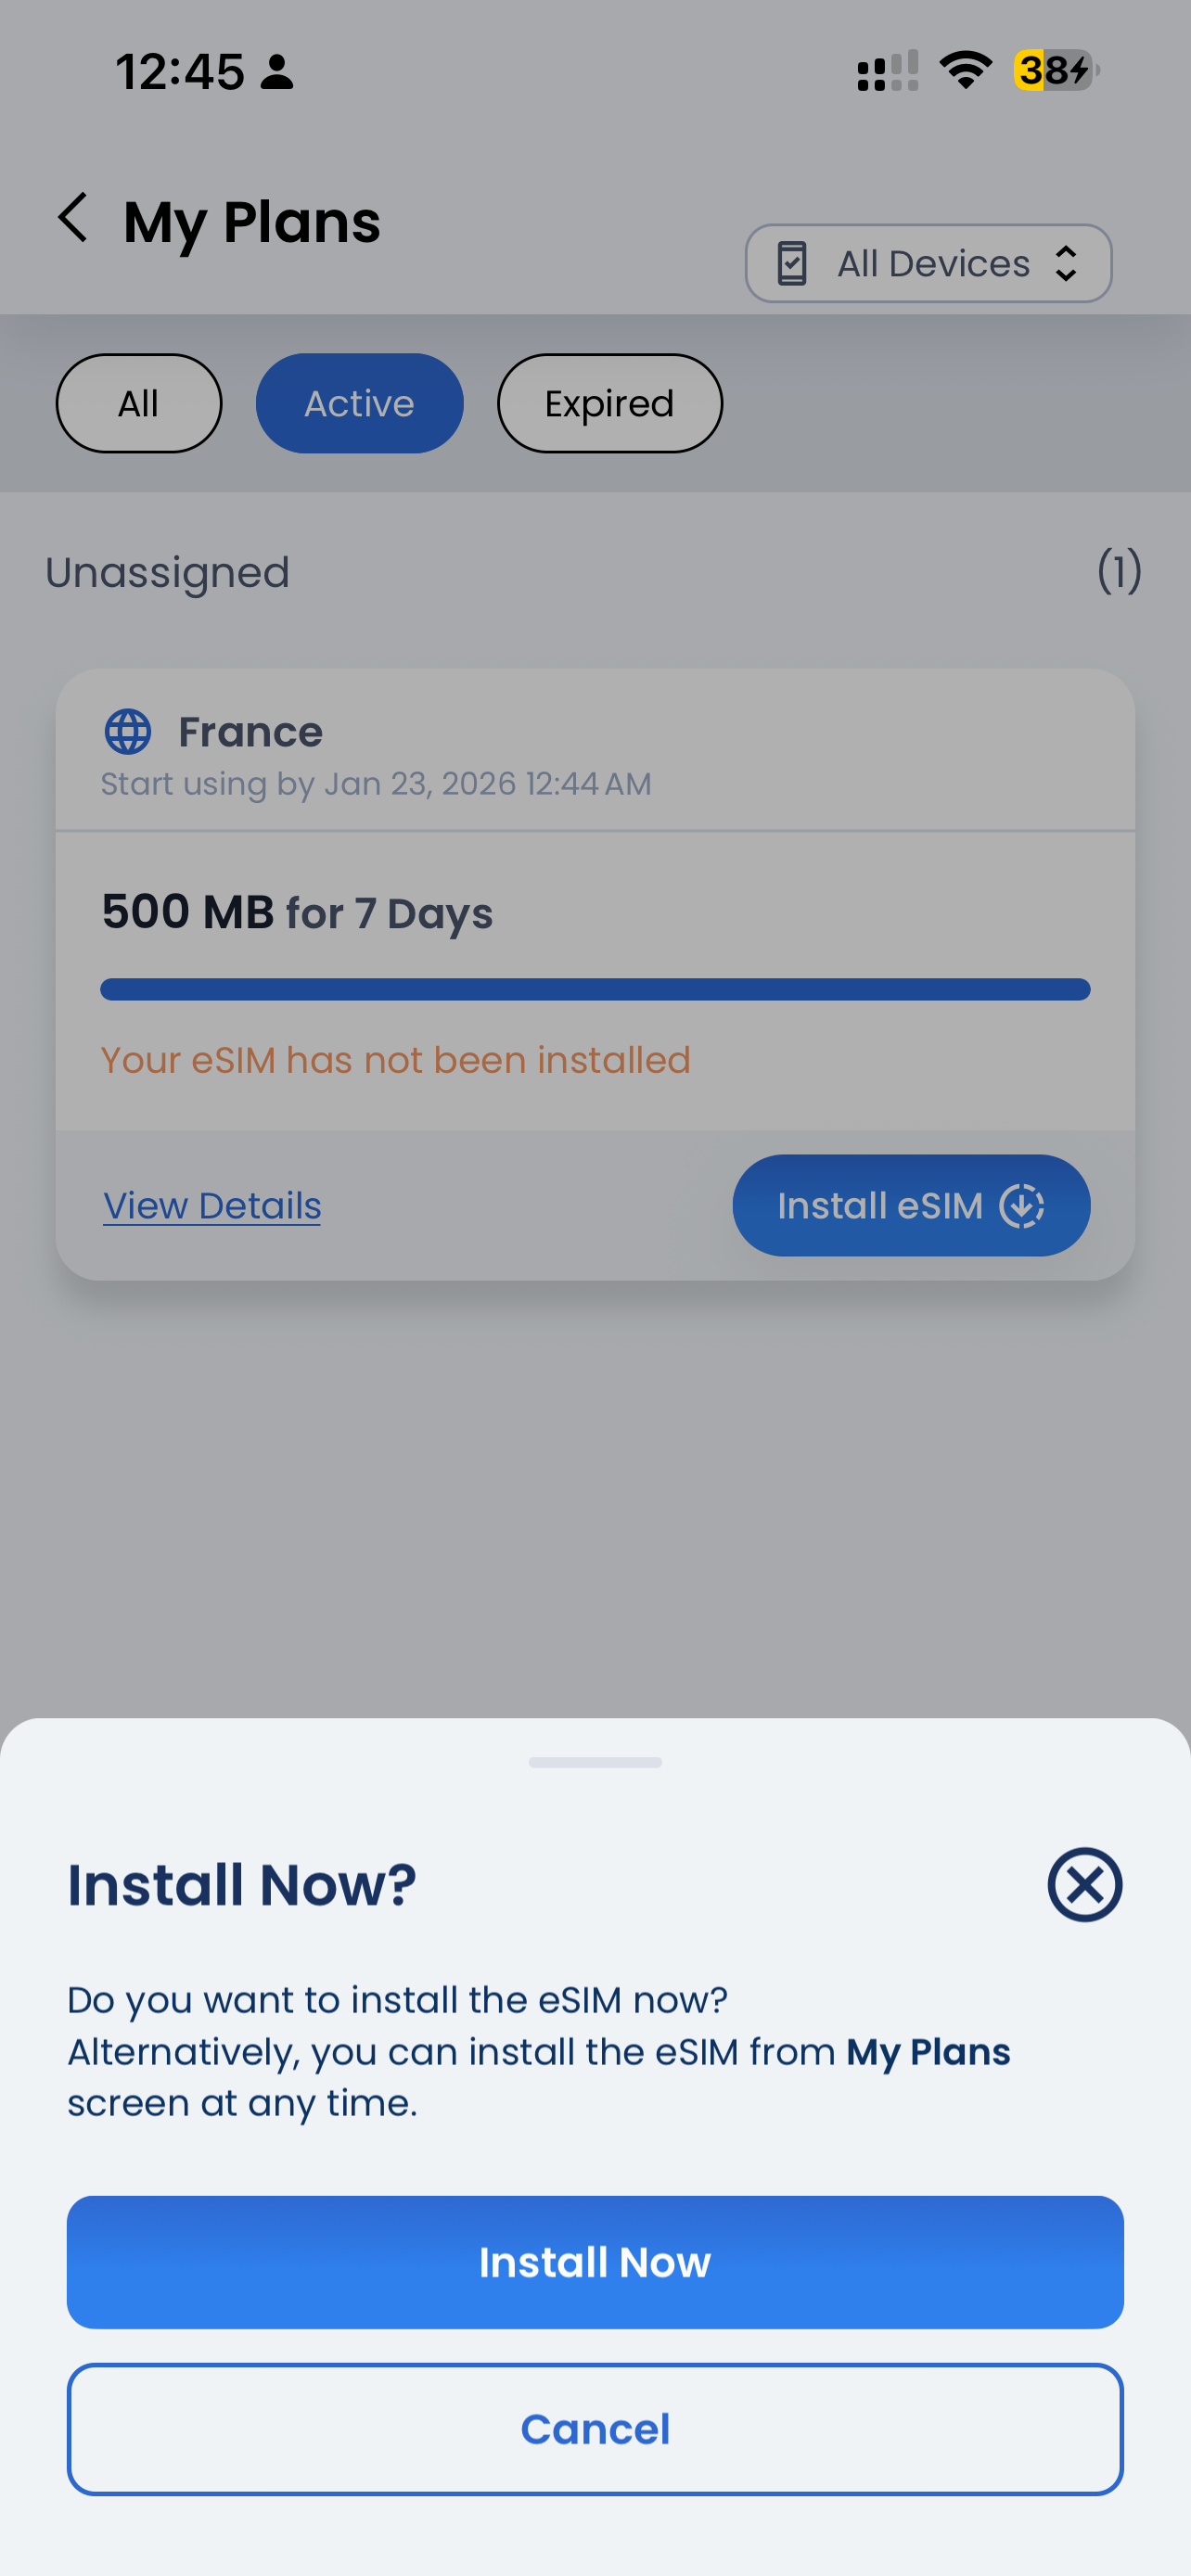
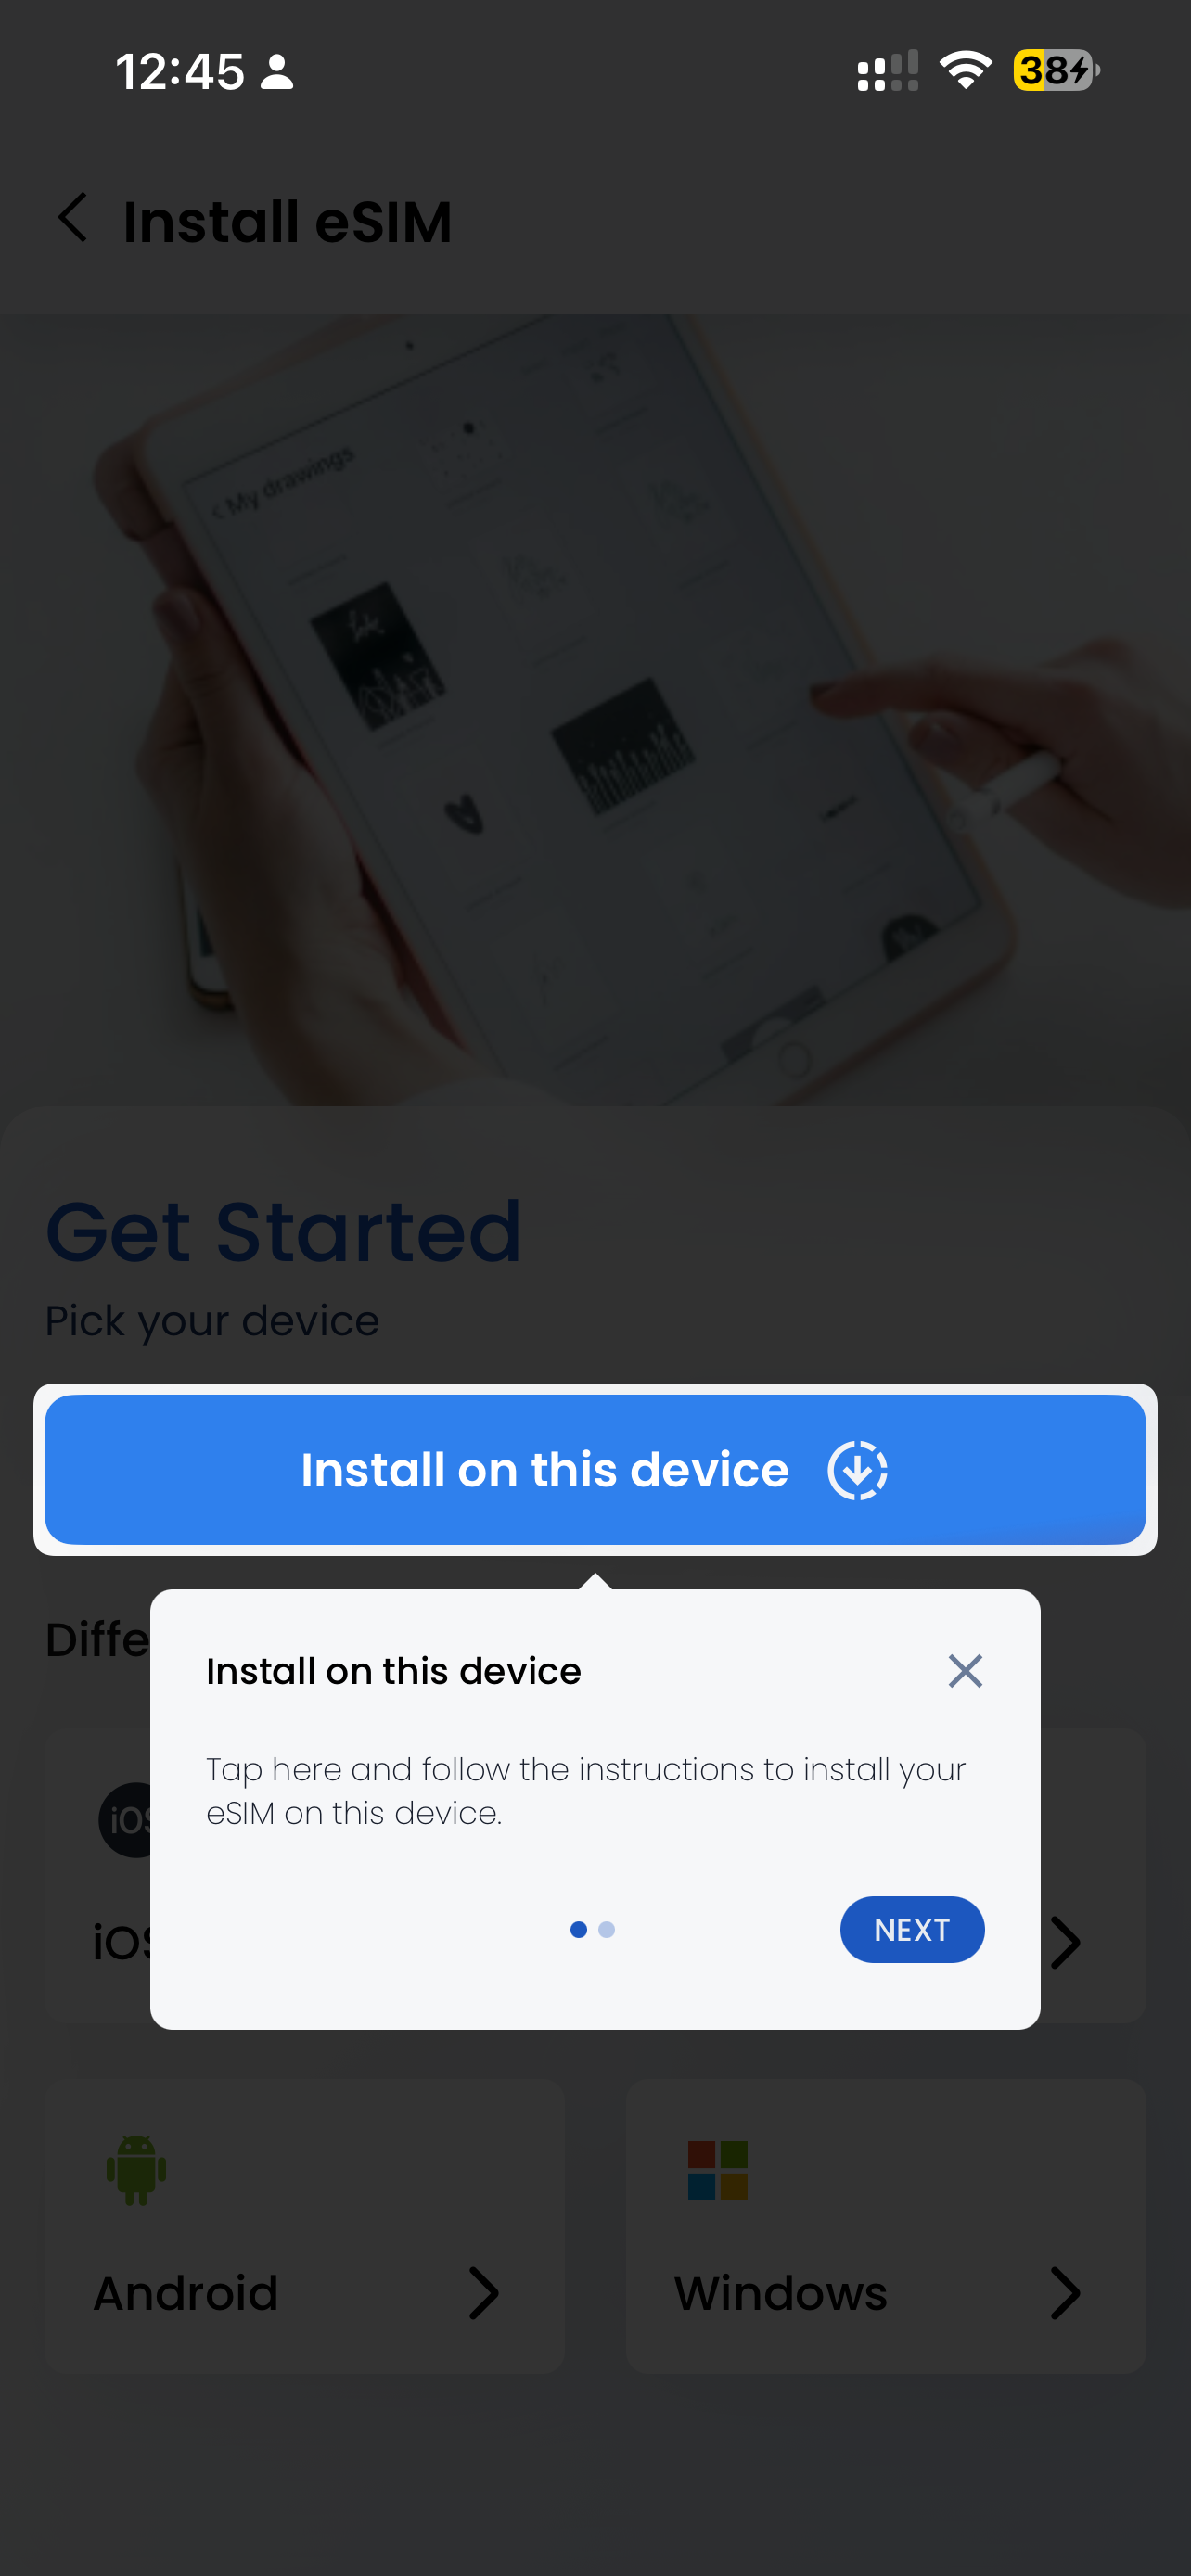
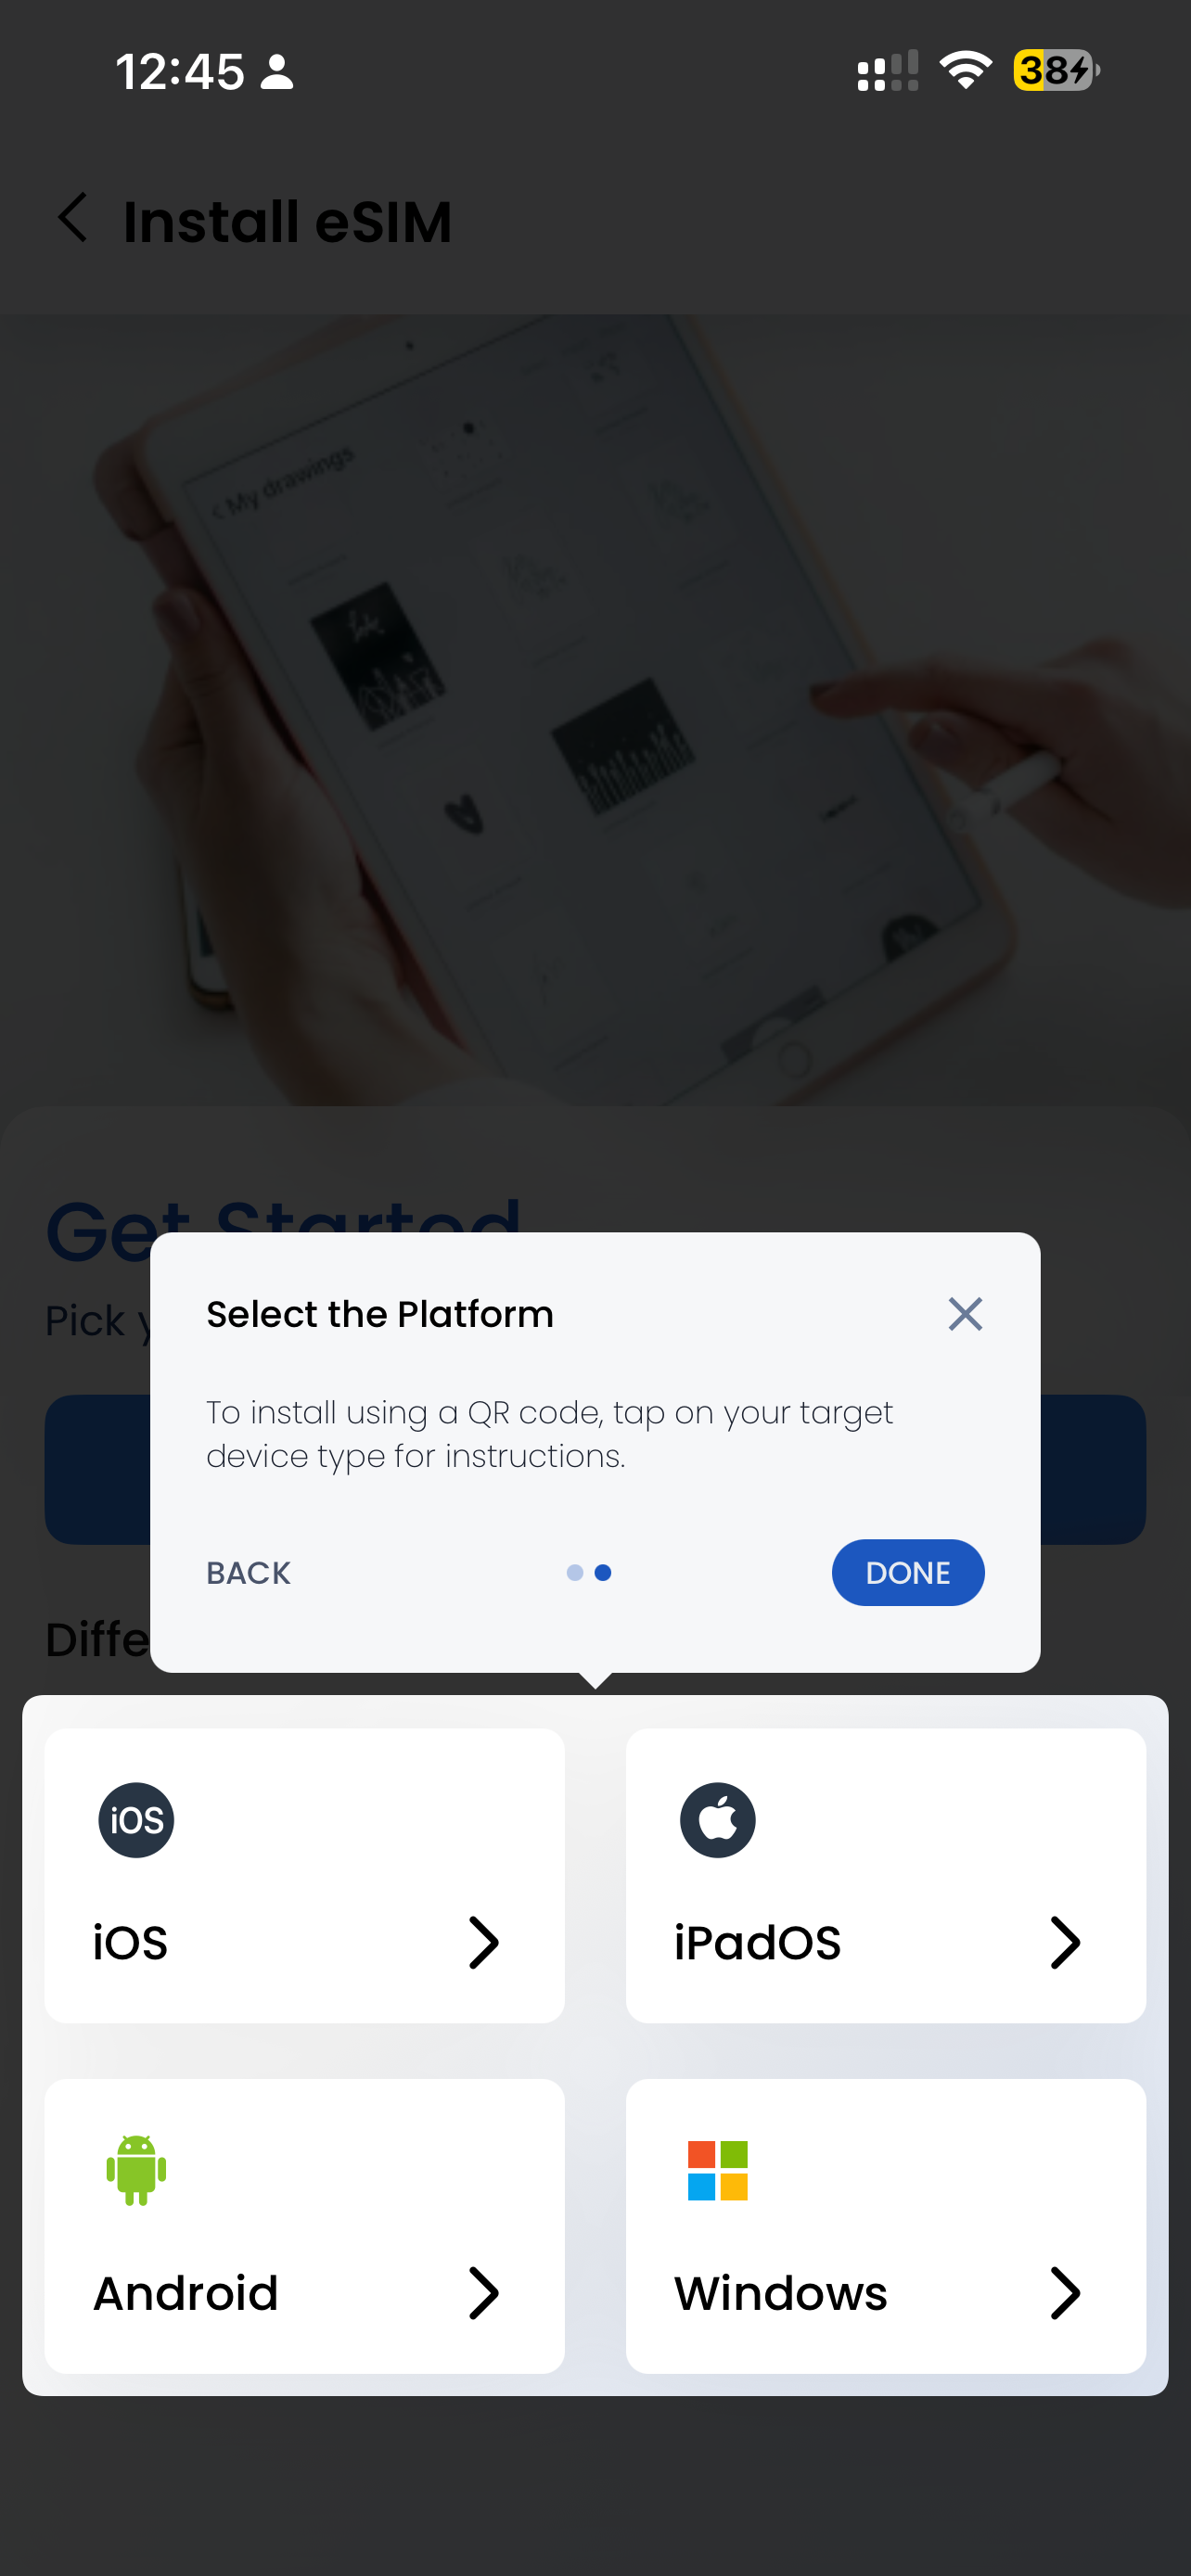
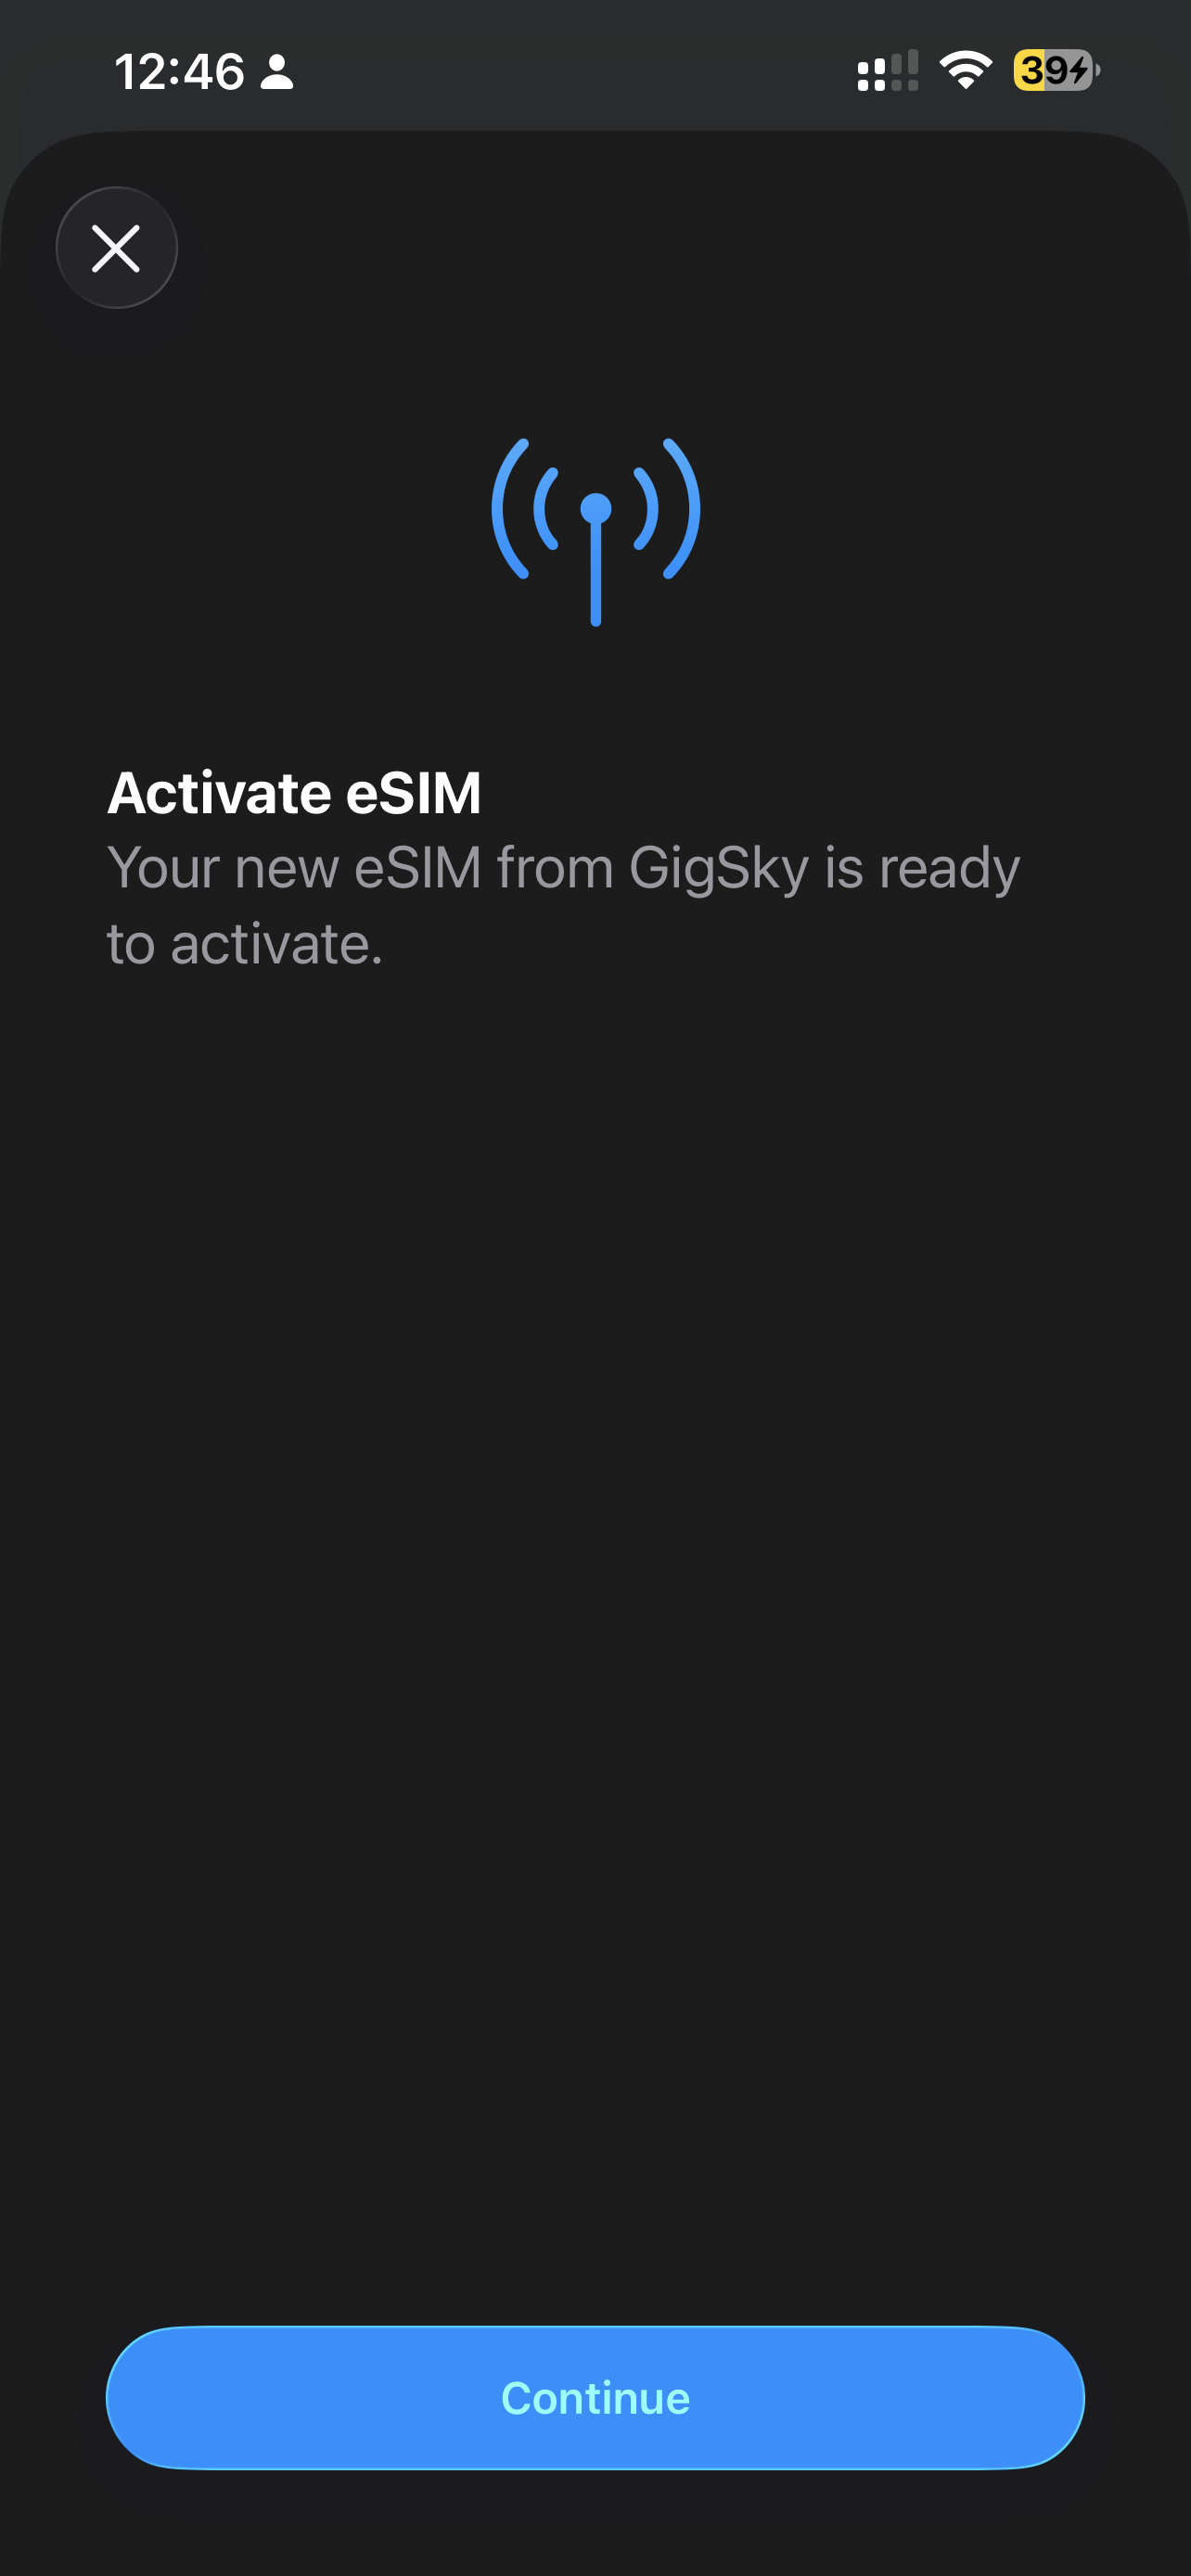
6) Install your GigSky eSIM
Now you've purchased your eSIM, you're ready to install it.
With GigSky you can purchase and manage multiple eSIMs for all your devices. In this guide we'll show you how to install and purchase on the same device.
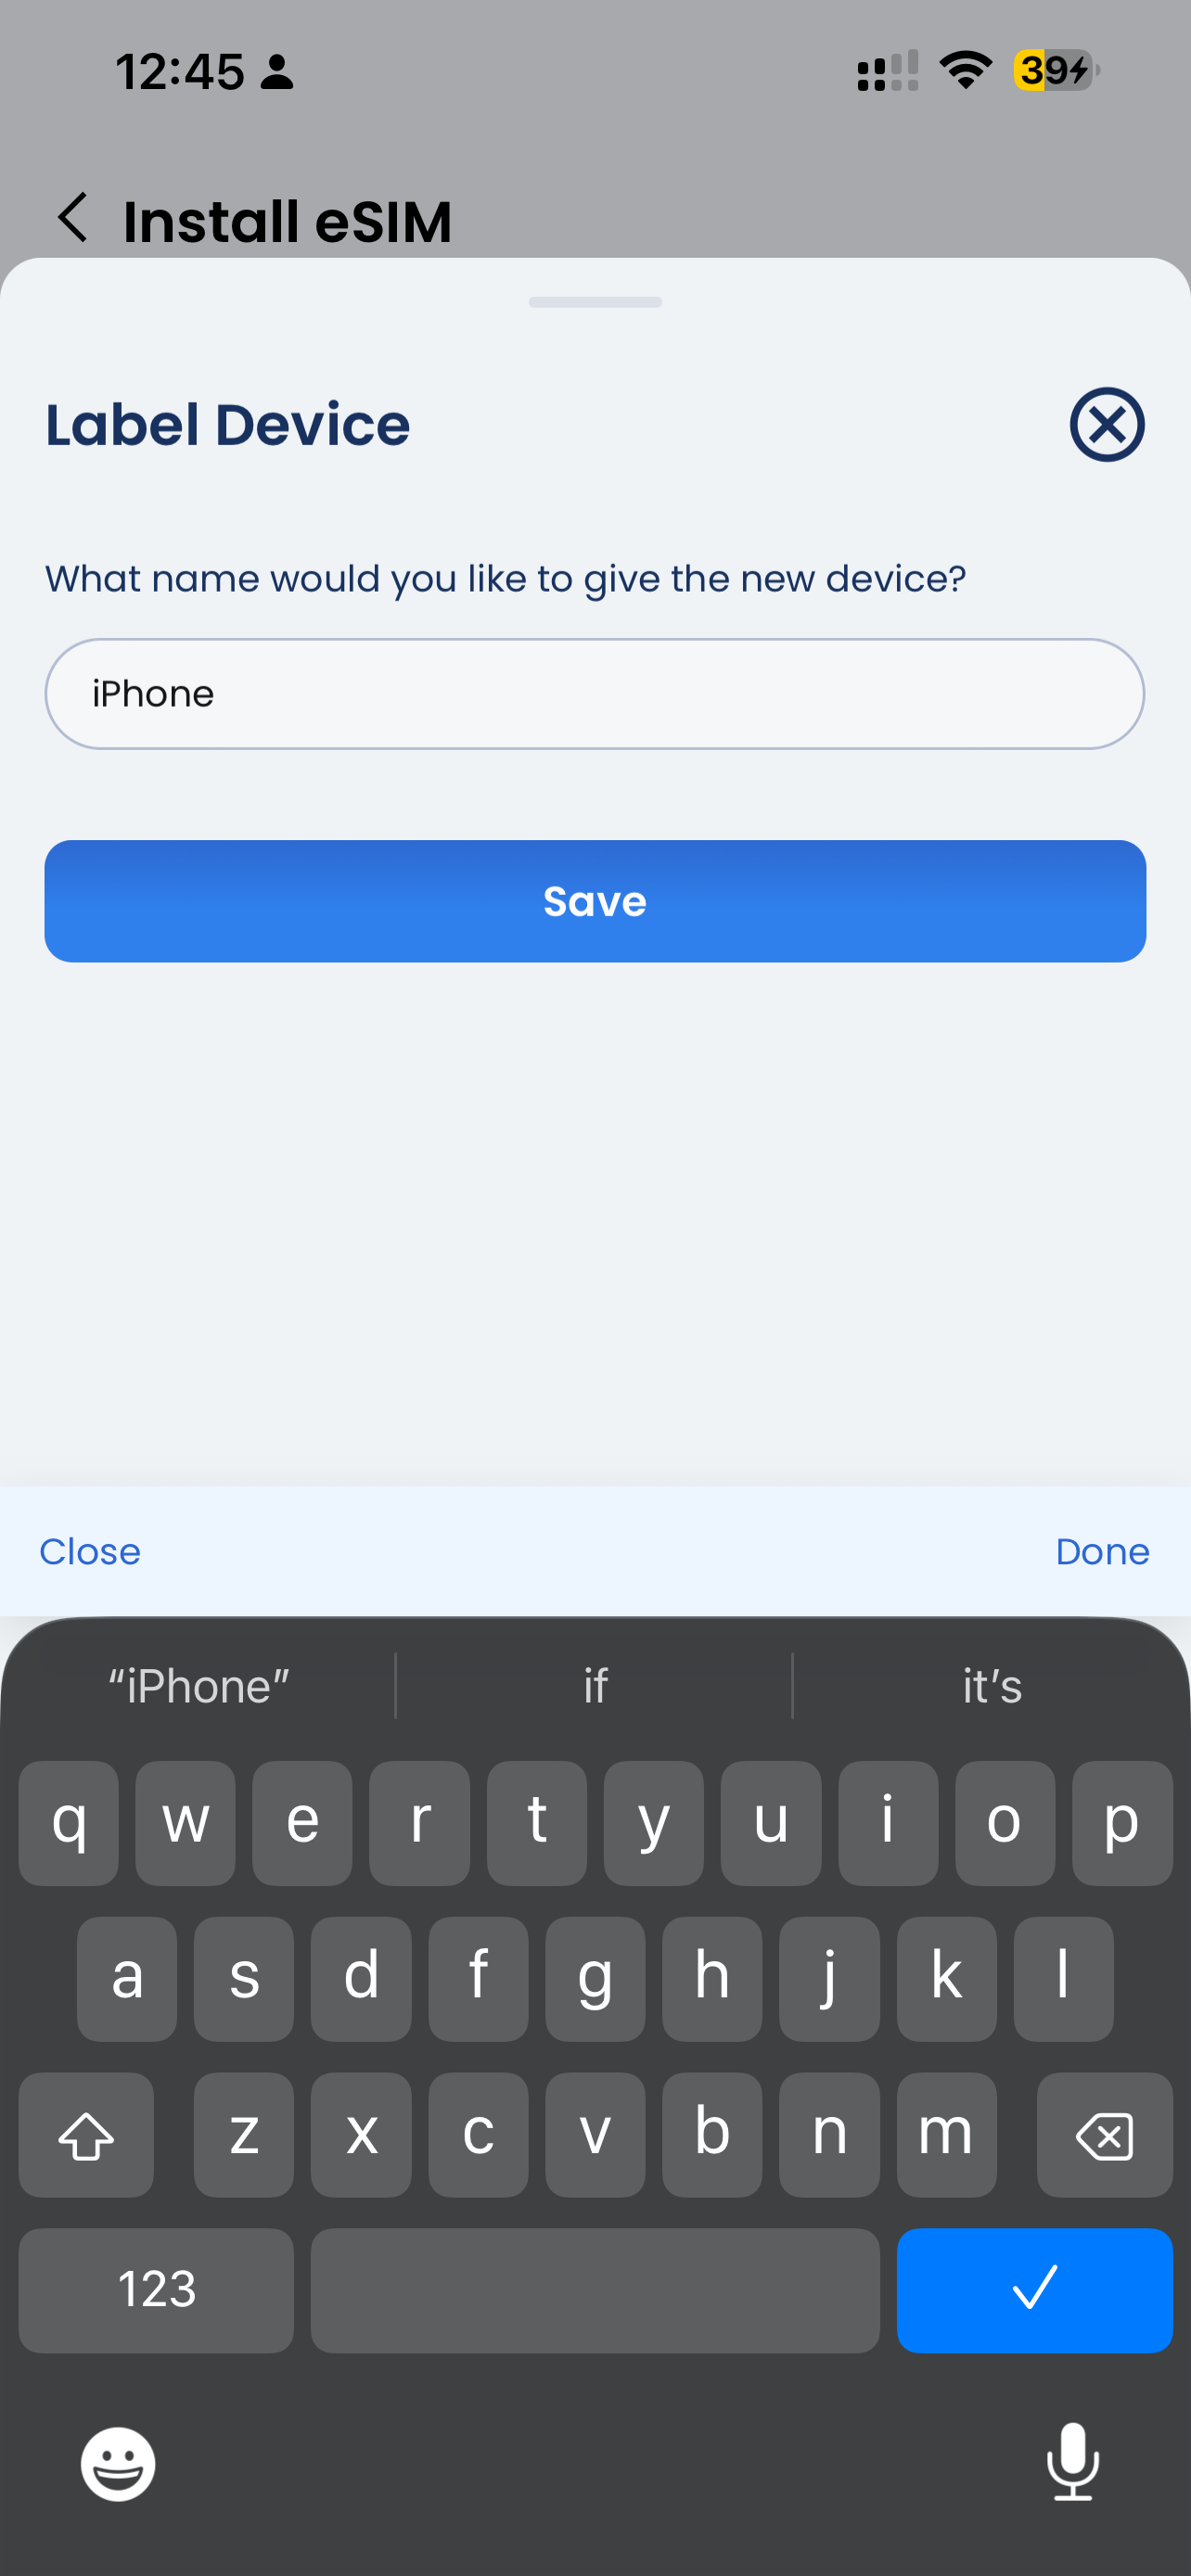
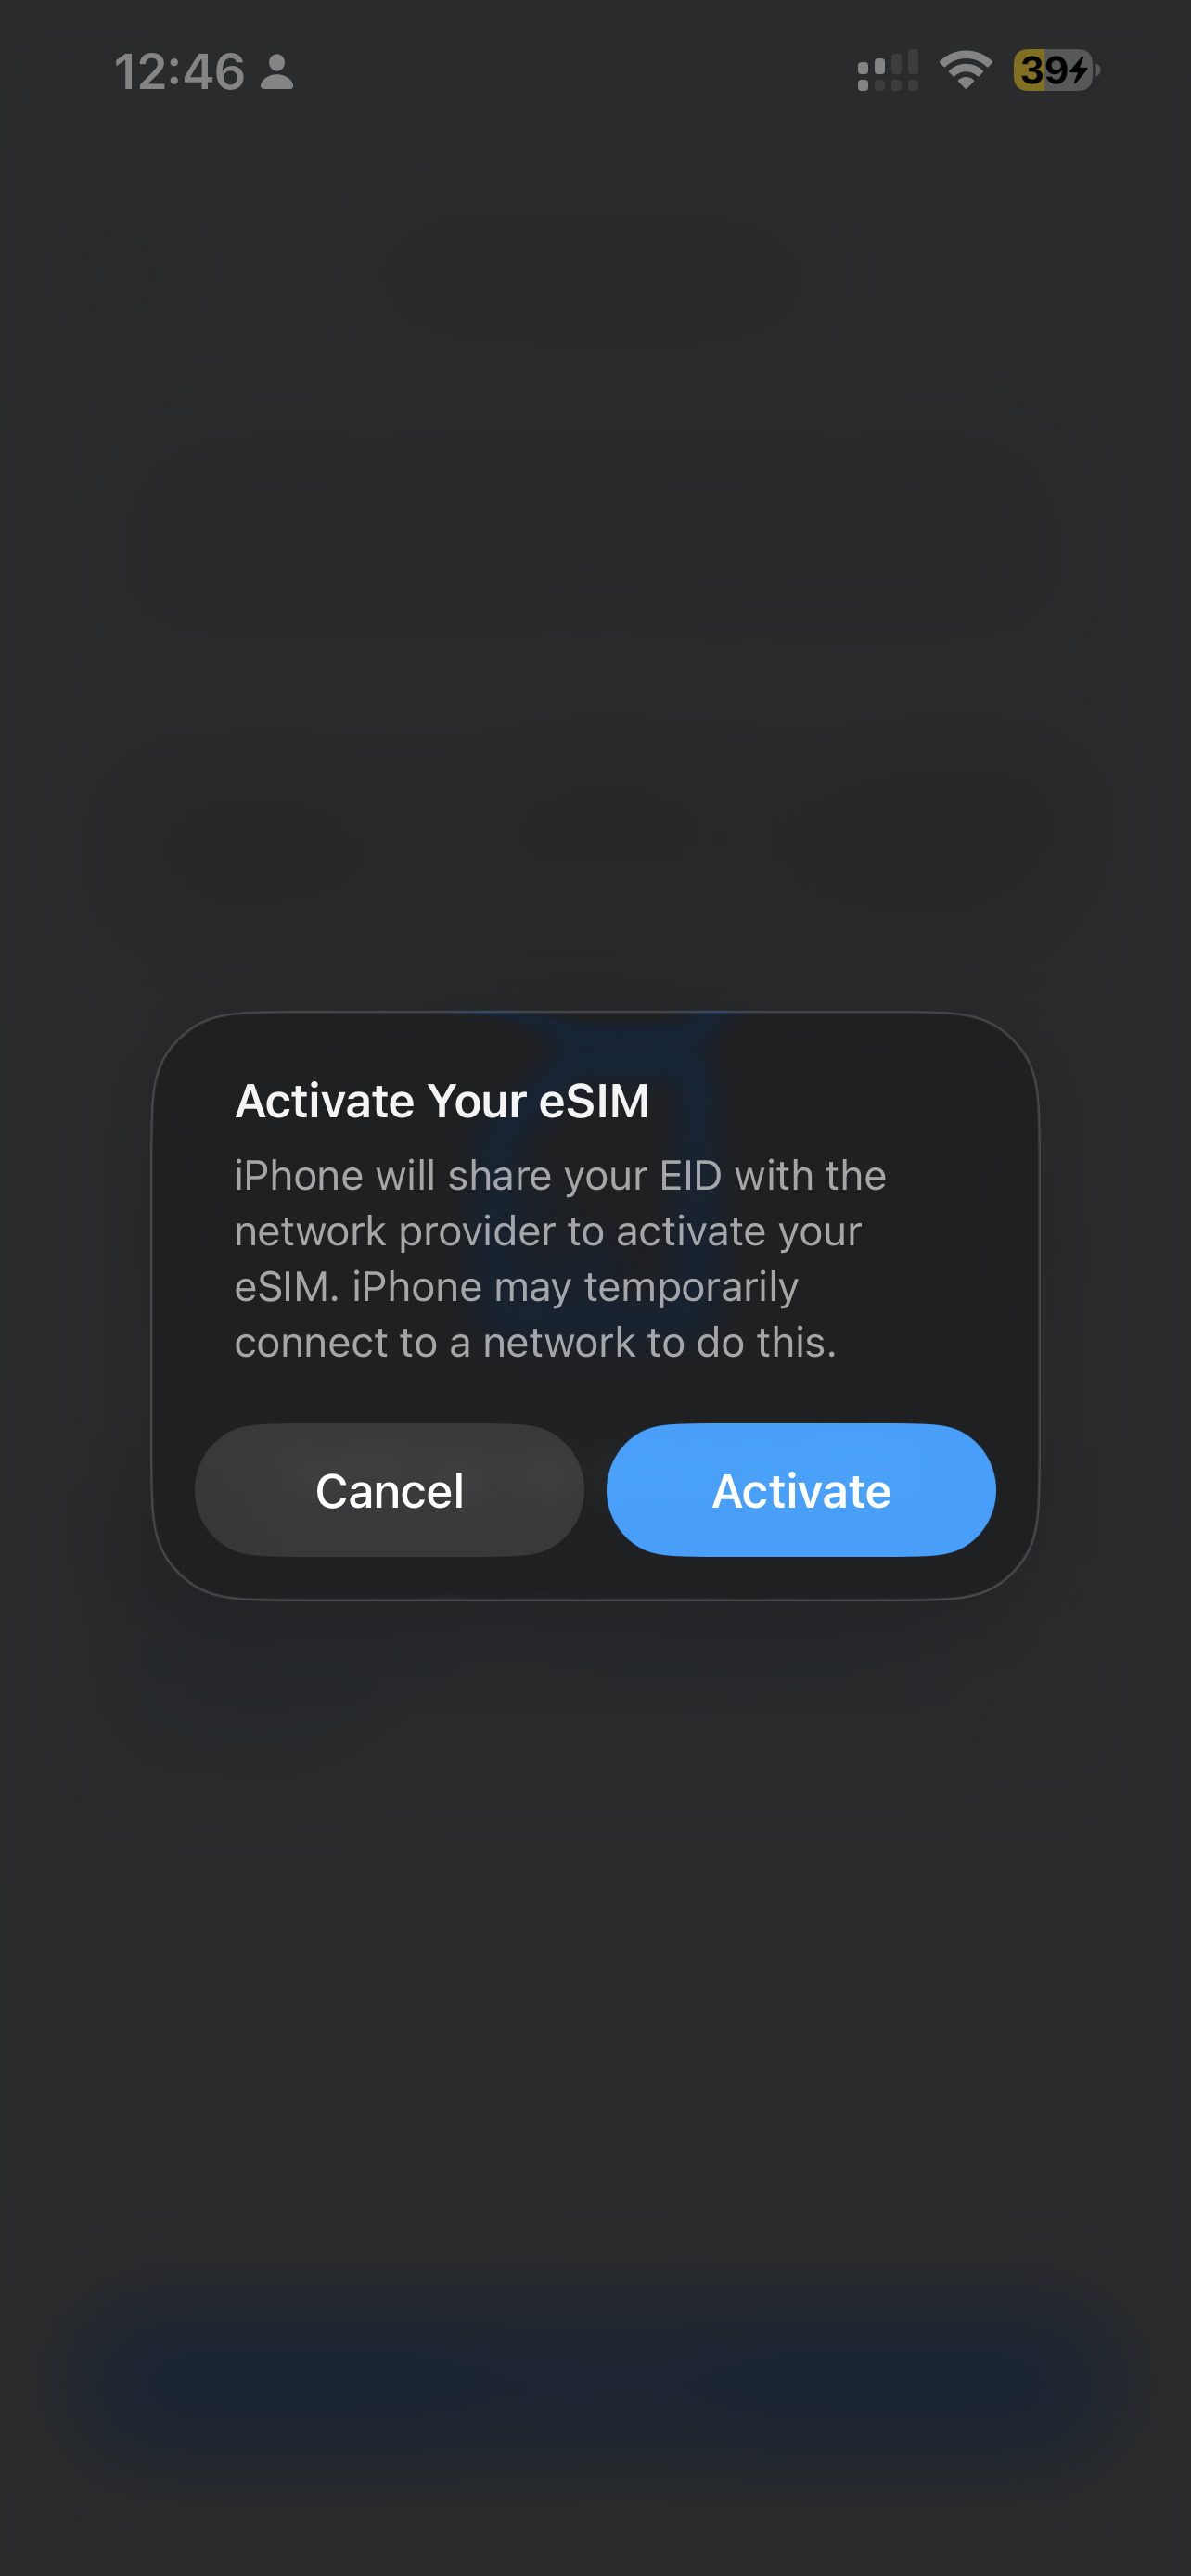
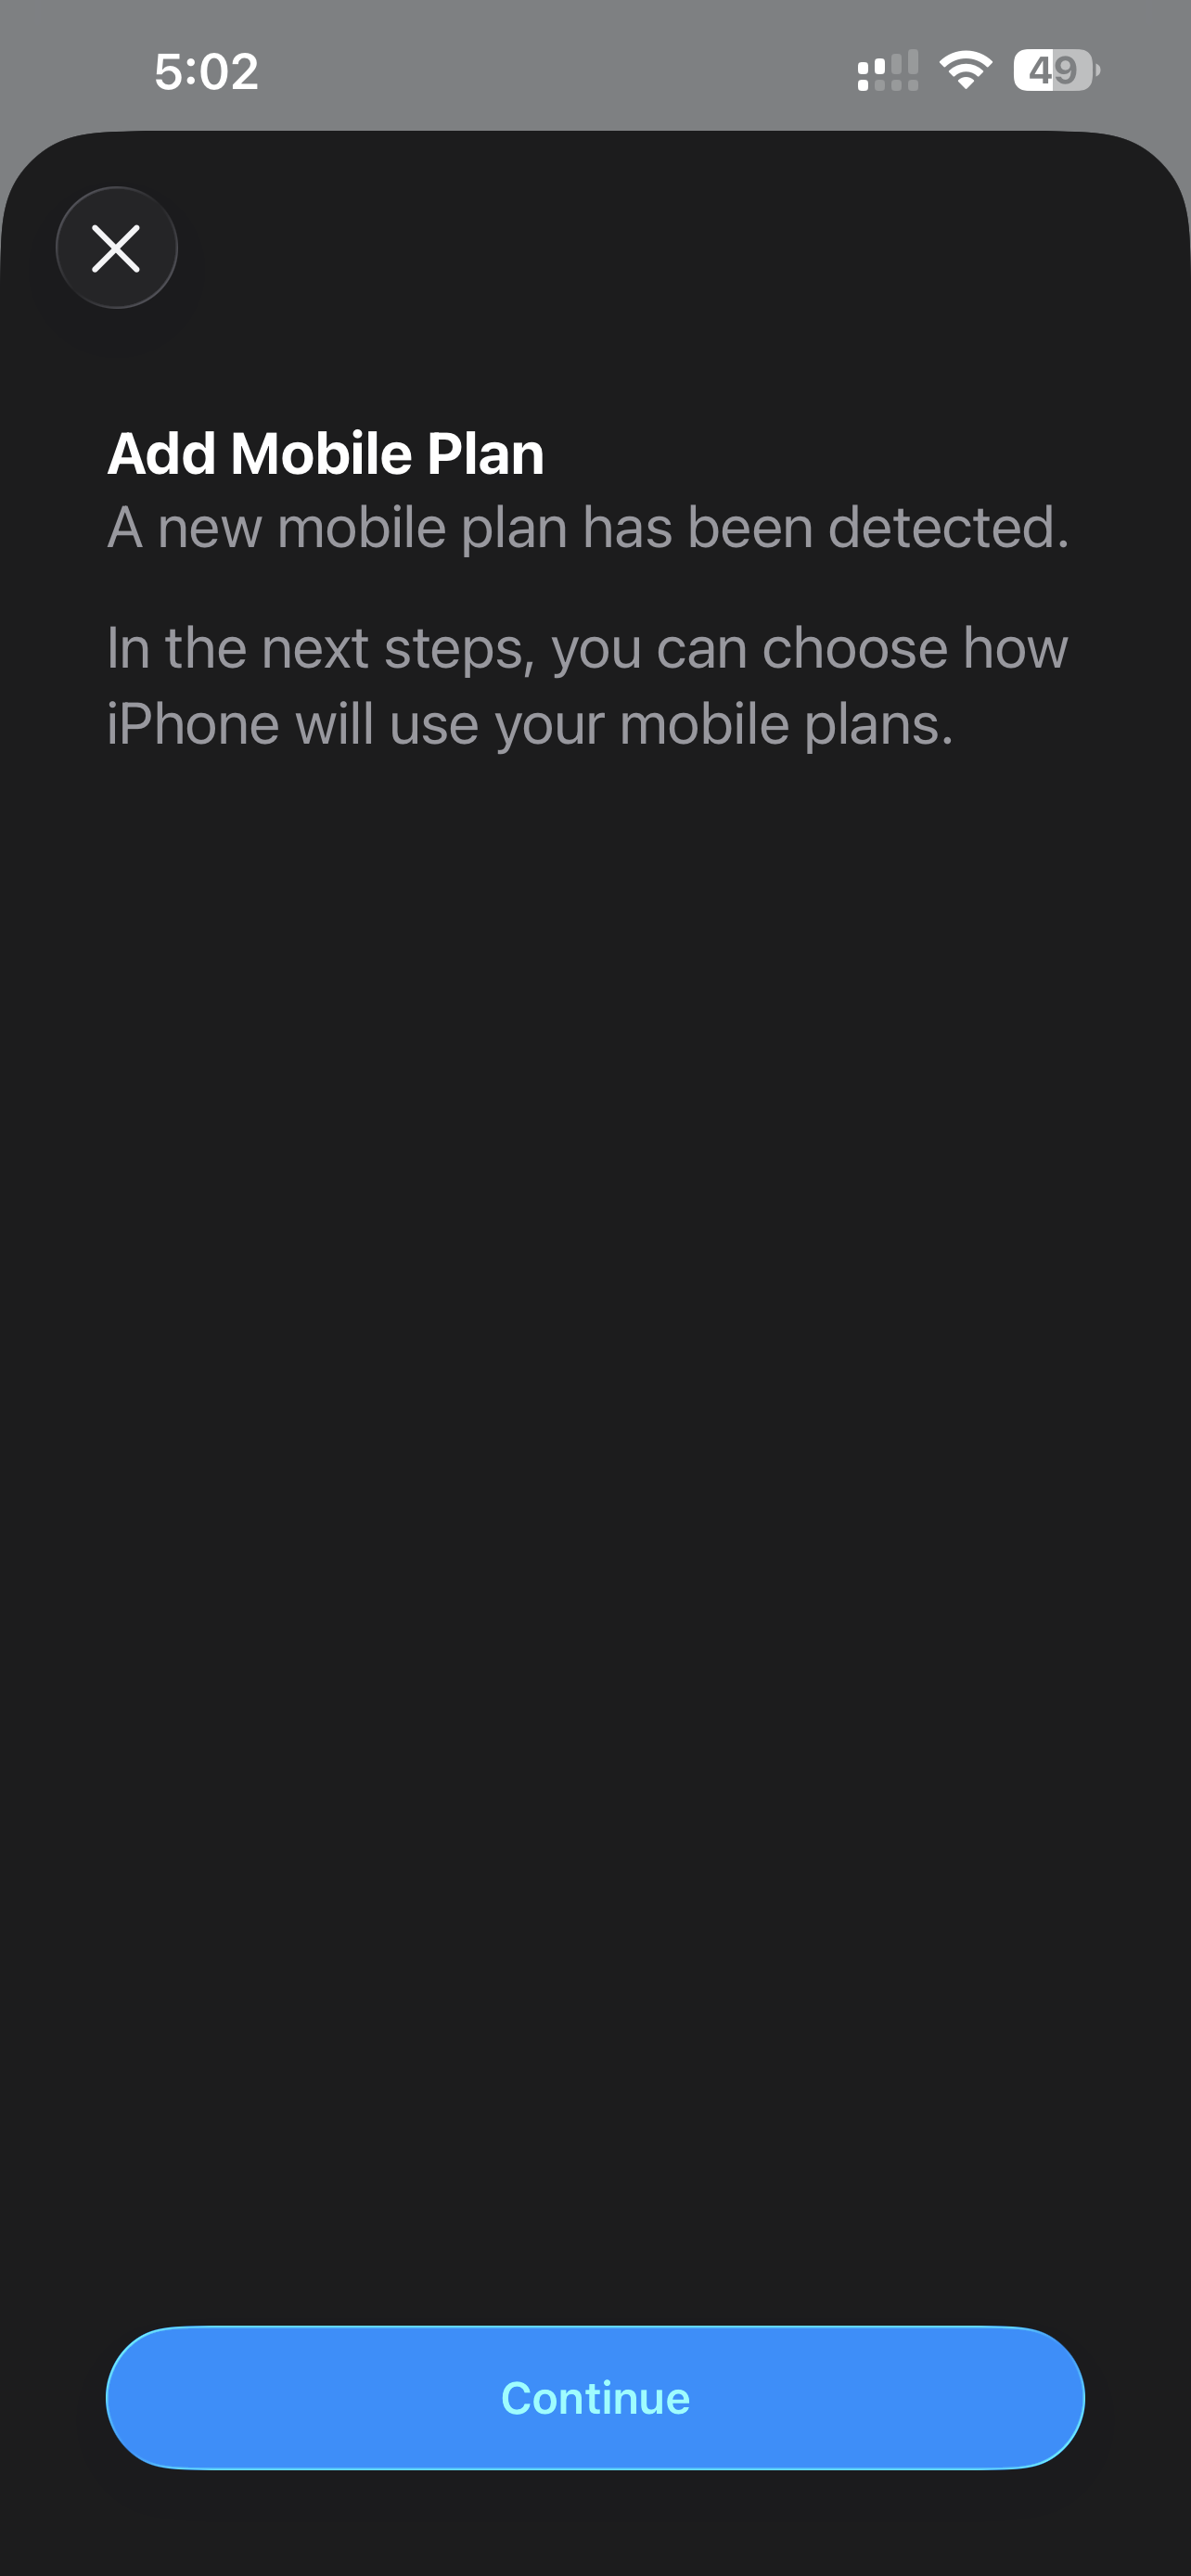
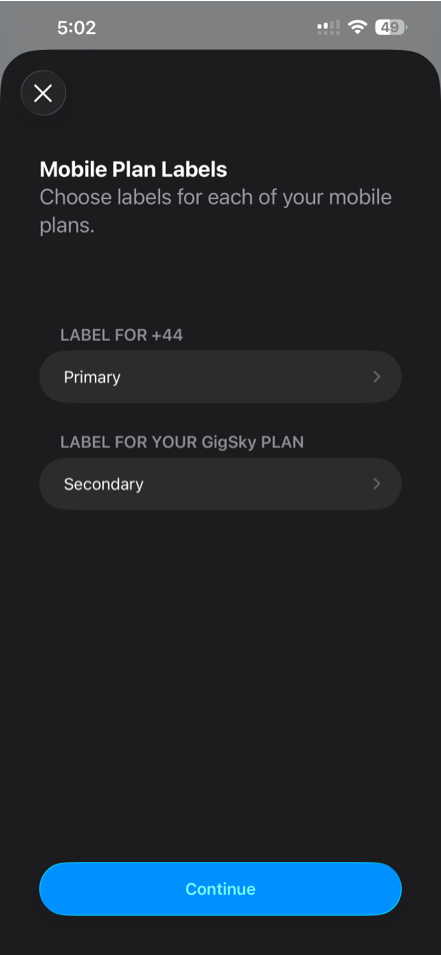
Setup Your New eSIM
At this point you've done all the heavy lifting! We just need to set things up so you can continue using your existing eSIM or SIM.
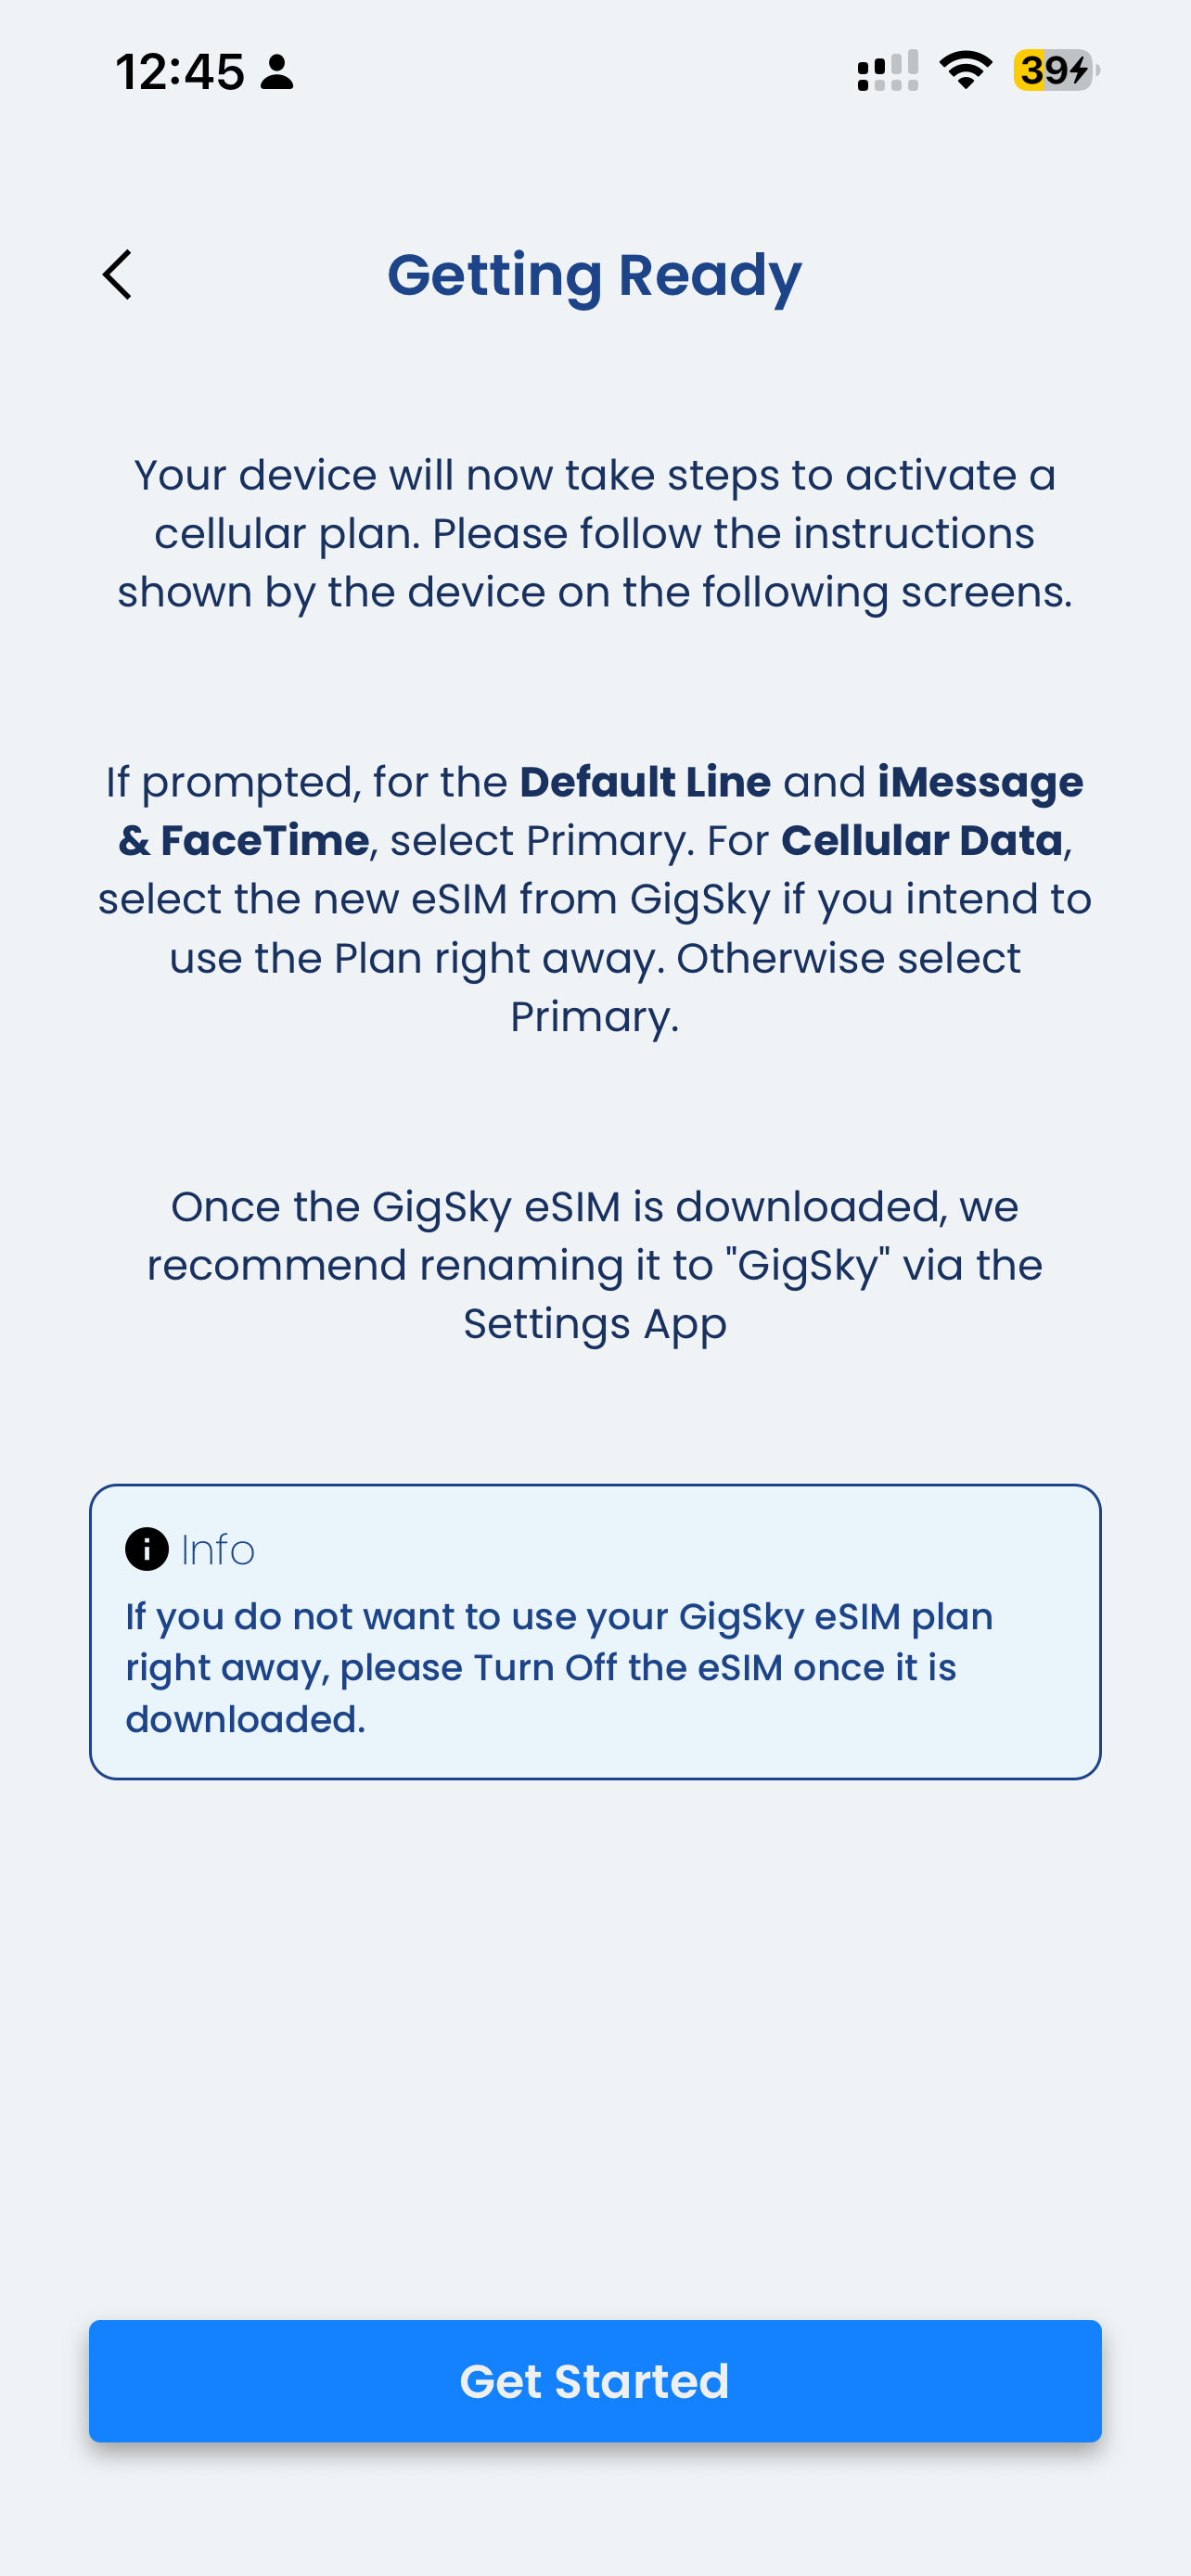
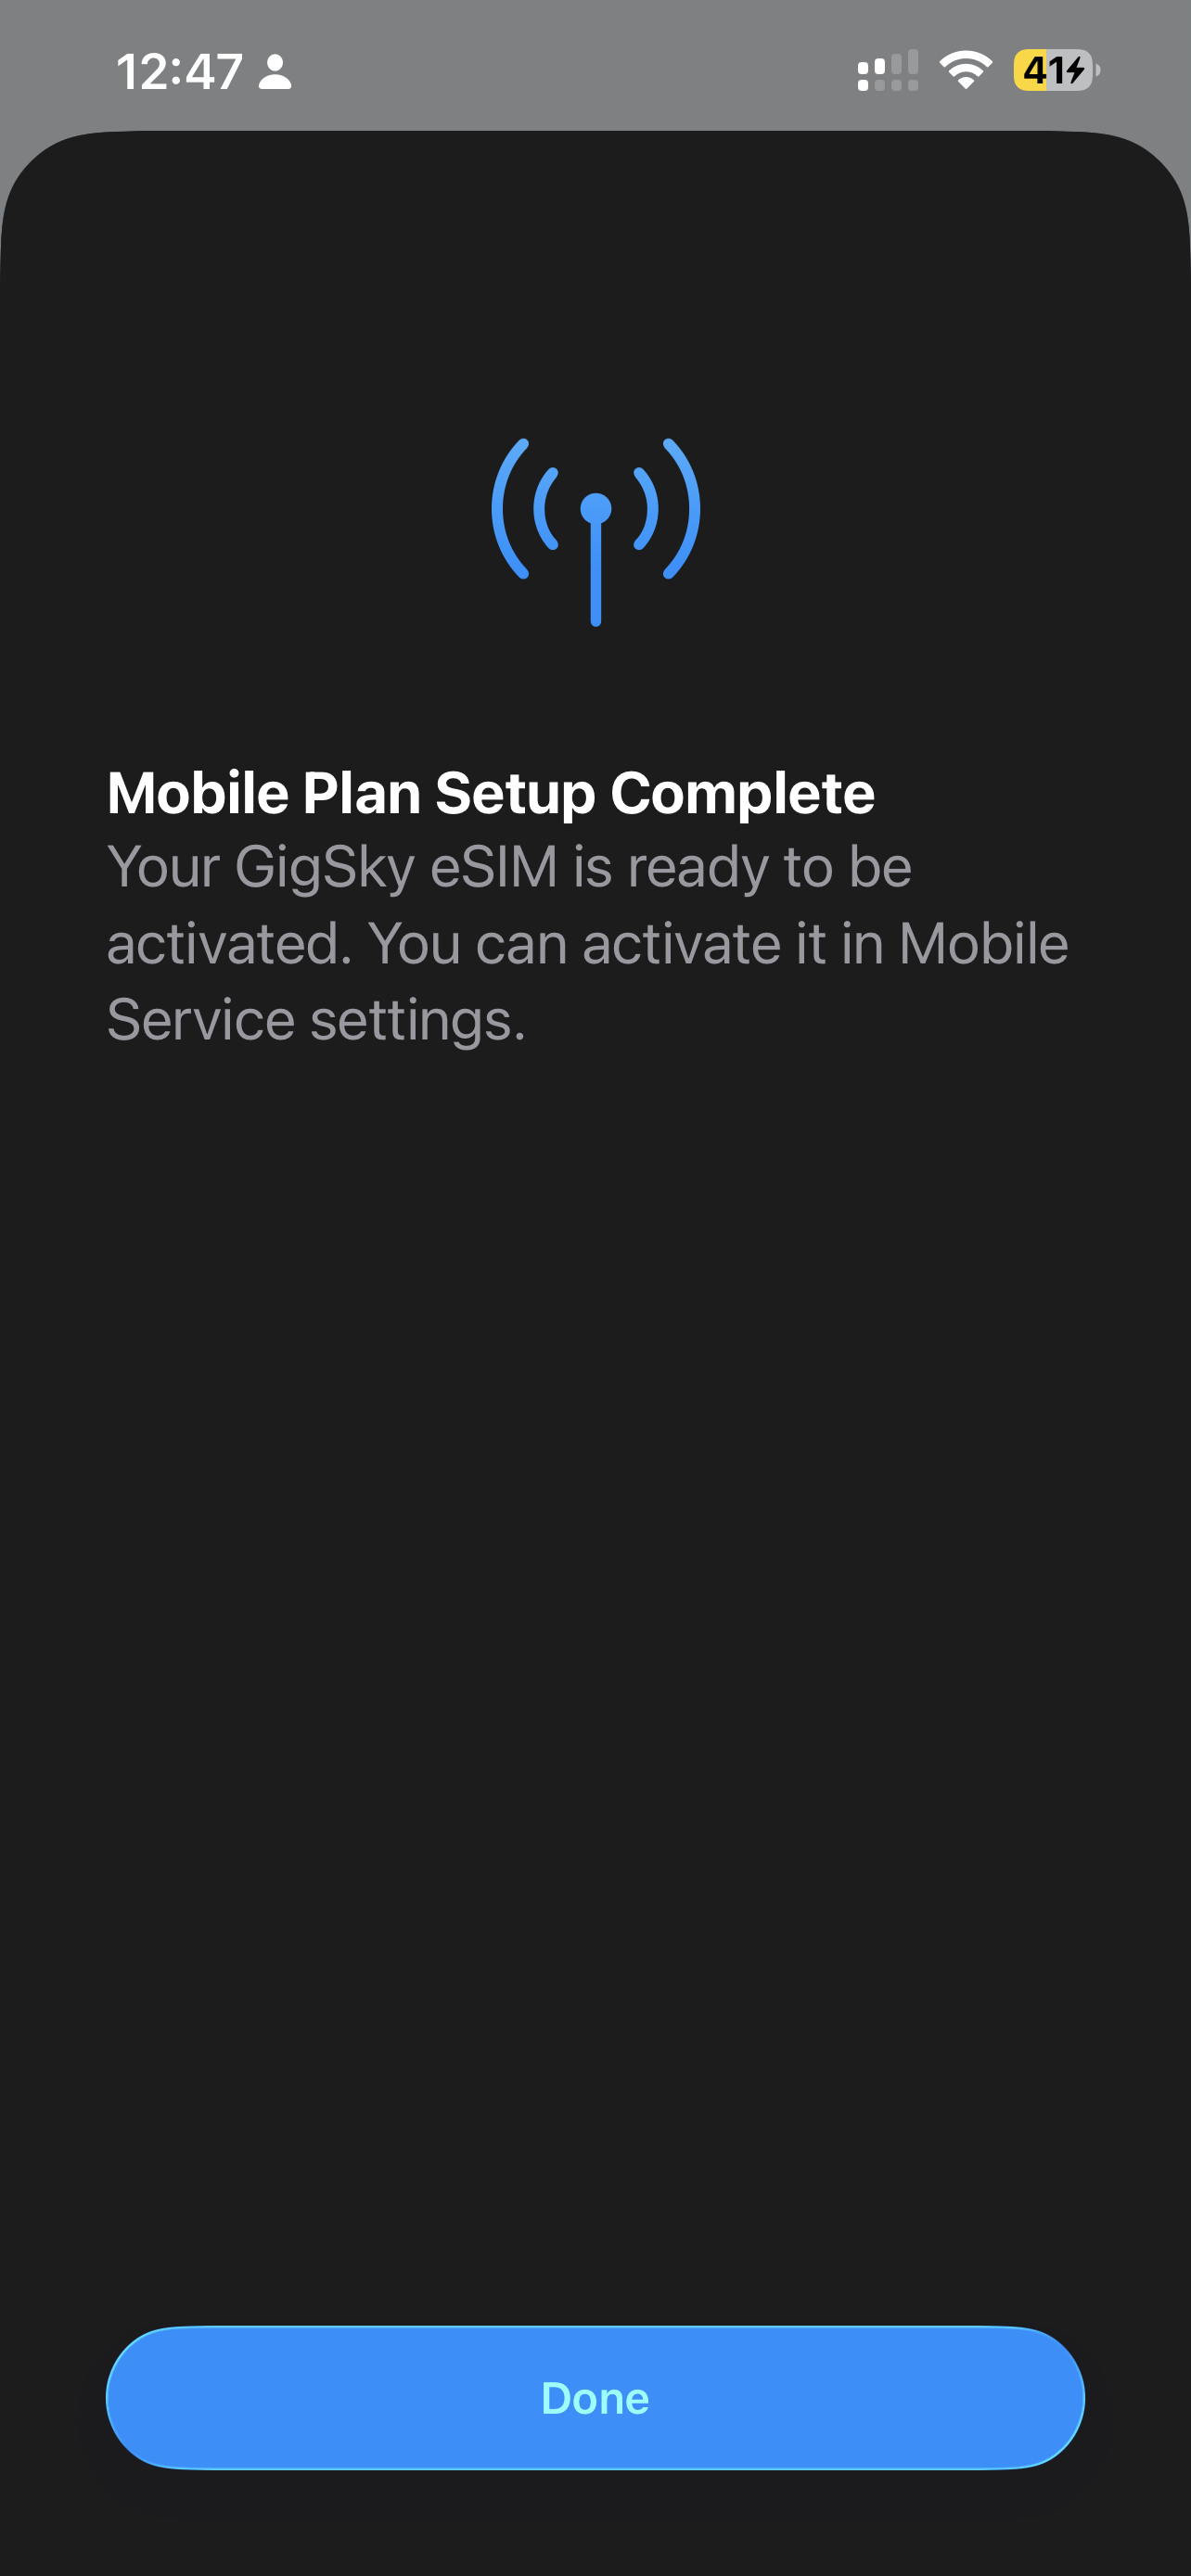
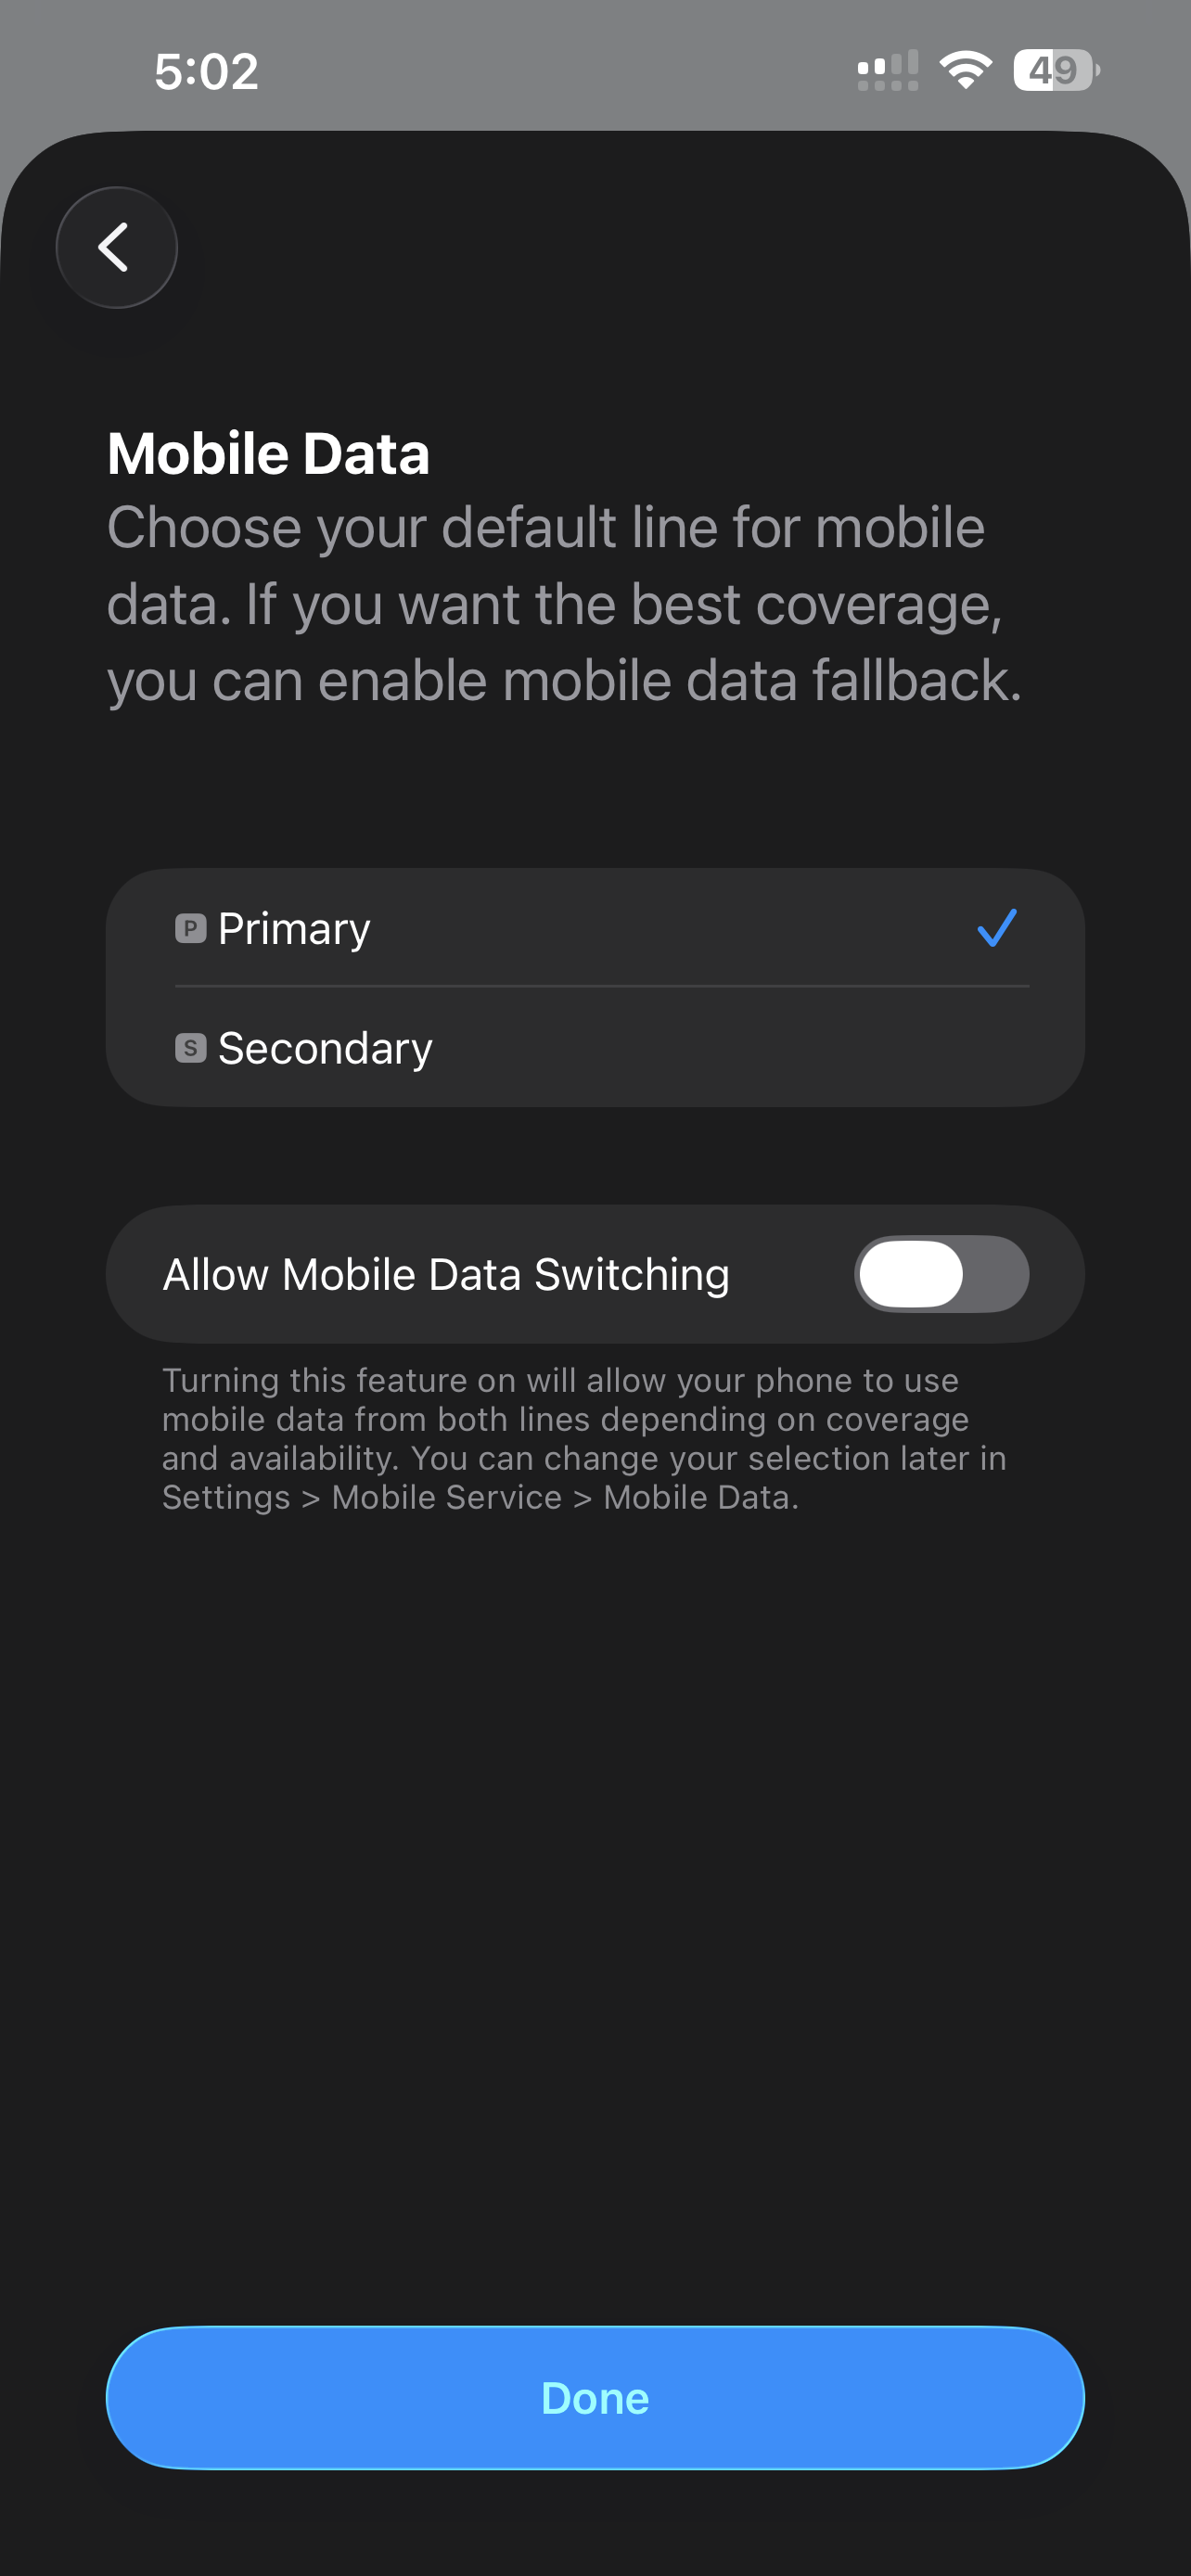
When you reach the Mobile Data step, if you are already at your destination, choose the Secondary option, as this will use your new eSIM for its mobile data. If you've not left yet, then set this to Primary - when you arrive, you can change this (guide below).
You're all set. Your eSIM will now be activated and provide data for as long as its valid or until you run out of data. With GigSky you can activate plans in the future using the same eSIM as you've got installed.
Frequently Asked Questions About GigSky
How can I make sure my eSIM is ready to use when I land?
To start using your GigSky eSIM when you reach your destination, you'll want to have installed the eSIM, before arriving. When you arrive you'll just need to activate your GigSky eSIM. Check out the activation guide below.
I want to install my eSIM on Android?
Visit the GigSky Android Guide to learn more.
How much data do you think I need?
Use our data estimation tool - we take into account how long you are travelling for and how we think you'll use your data. Visit RoamCompare Search.
Can I keep my home eSIM installed?
Yes! When you're travelling you can use your GigSky eSIM for data, and your home eSIM can still receive SMS and calls. When you get home, you can switch back to your home SIM for data - take a look at the guide below.
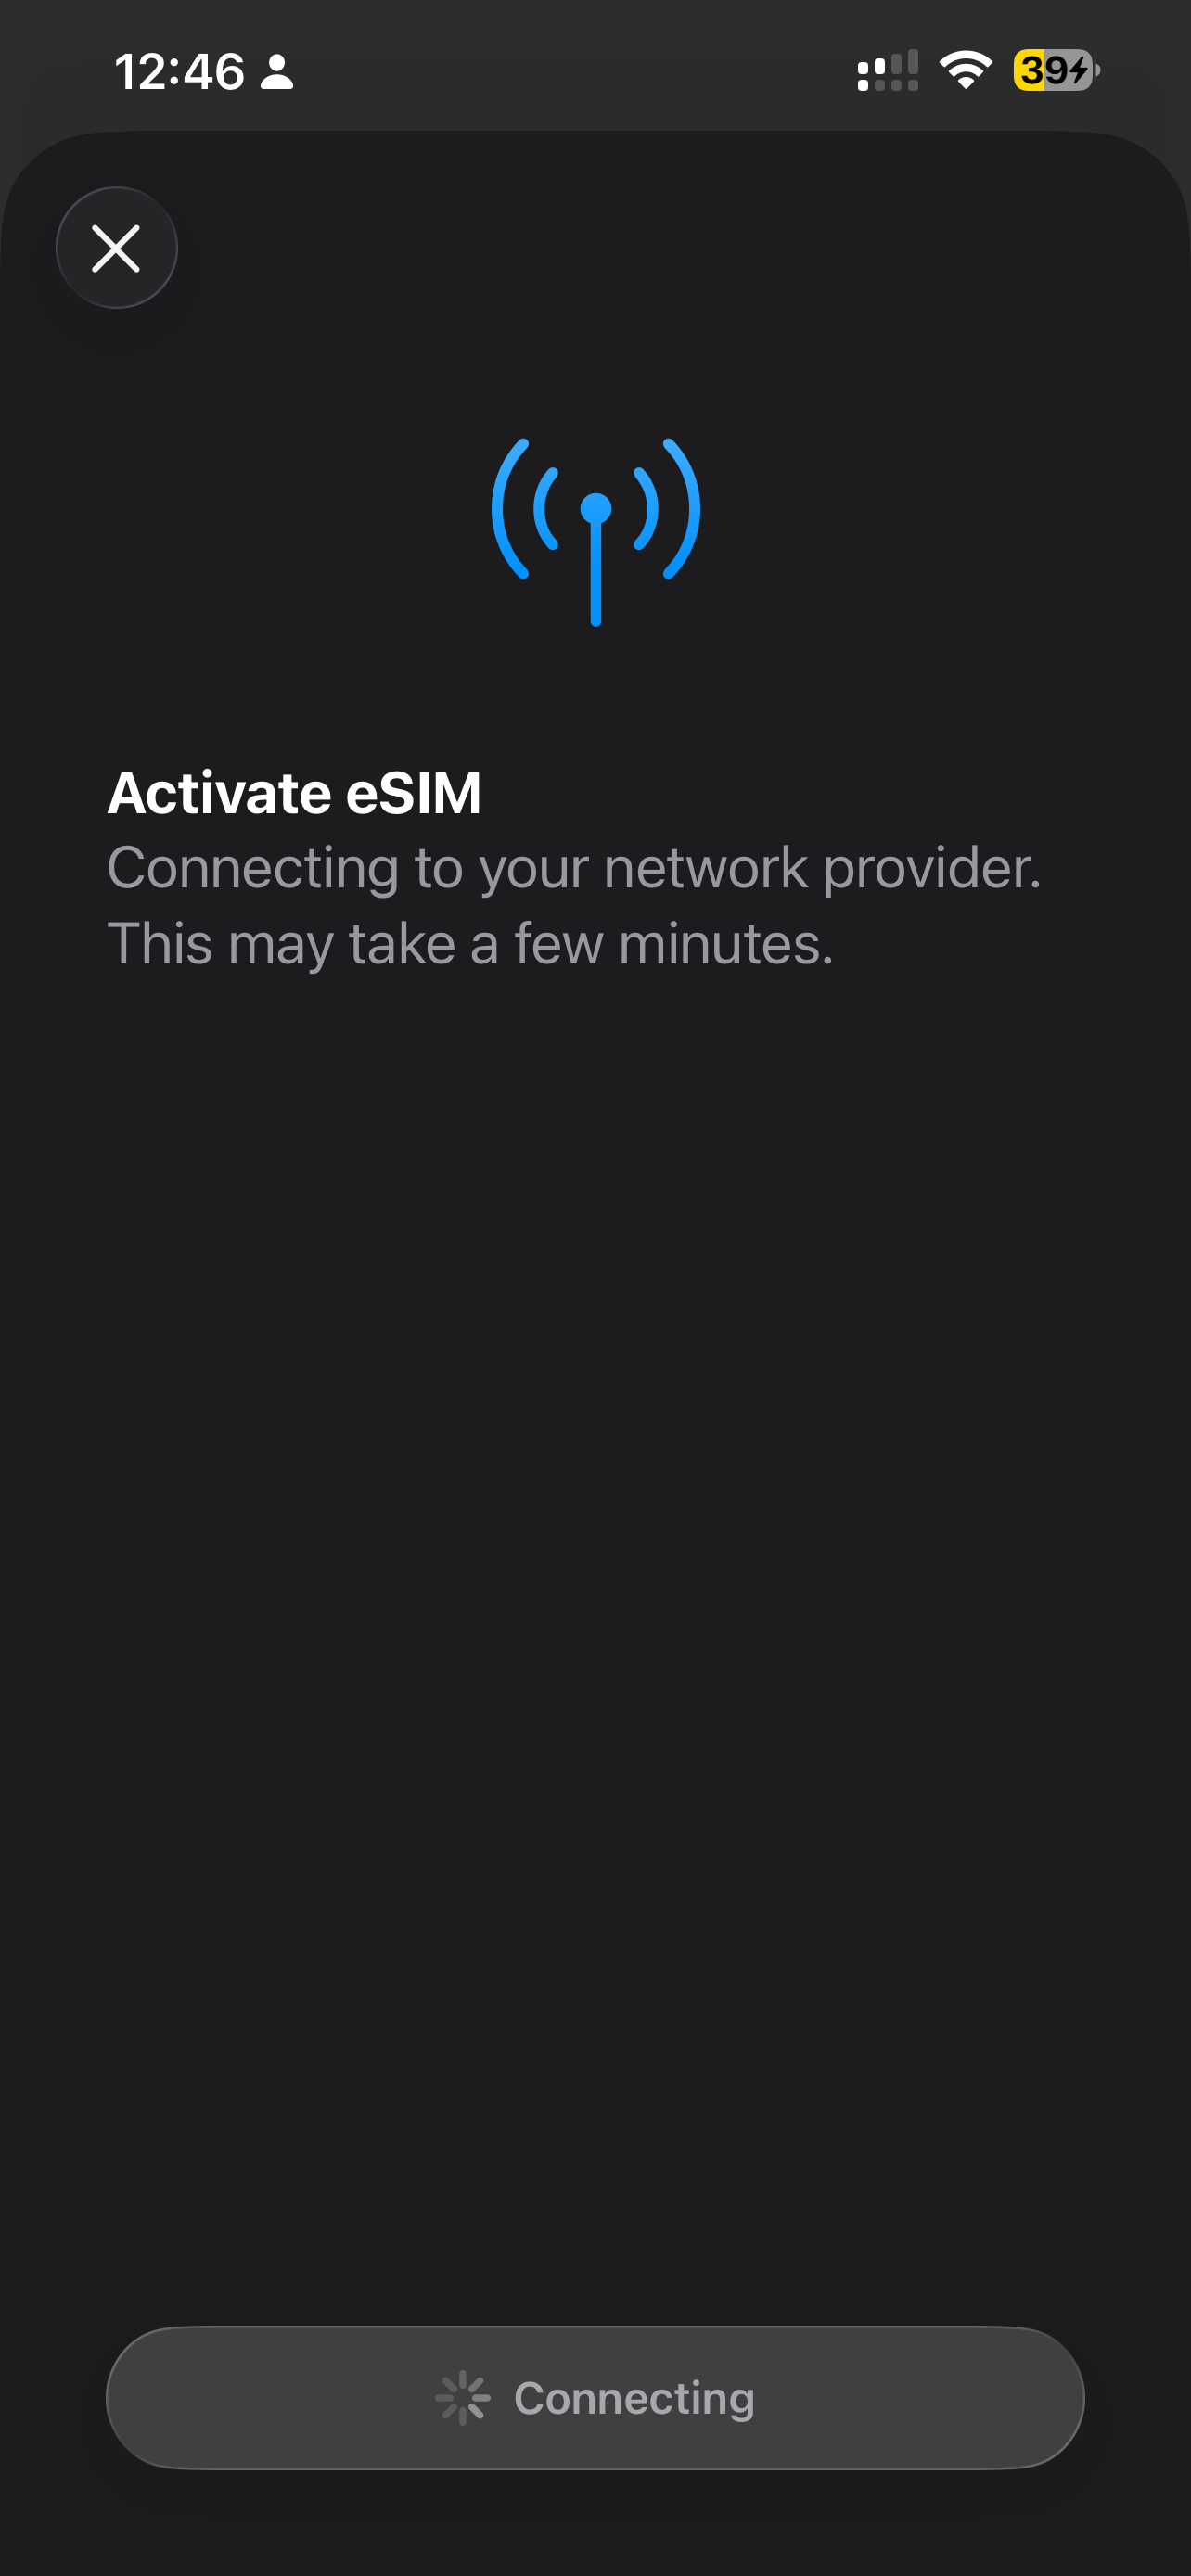
My GigSky eSIM activation is taking a long time?
It can take a few seconds or minutes to activate, don't worry! It you do face any issues, contact GigSky support.